Box Card Flower Trunk Tutorial

Hello crafty friends! Today I am sharing an assembly tutorial for the Box Card Flower Trunk (SVG, Silhouette).  I used papers from the Day and Life collection by Echo Park Paper Co. I also cut a few extra flowers to add to my card to give it a fuller look.

The body of the box card is in two parts that will be glued together. The tabs are all folded in a valley fold. First, I inked the edges of all of my pieces then glued the decorative panels to the outside of my trunk. I then assembled the flowers. All of the flowers have two layers. I then glued the flowers to the two inserts. Three of the flowers are on the front insert and two flowers on the back insert.

For the trunk I added glue to both tabs and made sure to line up the holes on both pieces so that the brads would be fit. I then glued the decorative corner pieces to the trunk and added the brads to all of the holes. Enamel dots would also be cute on the holes if you can’t find brads. After I had all the brads in place I glued the back decorative panel into the trunk.

Next, I folded the tabs on the inserts in a valley fold and added glue to the back of the tabs. Securing one tab at a time I lined up the edge of the tab with the top of the trunk and held it in place while the glue set. I was also careful to not glue the tab over the back of the brad. I repeat the process for the other side of the insert. With both tabs glued I fold the card flat to check that it will fold flat then repeat the process for the second insert.

With both inserts secure I glued the last flower and stem to the front of the trunk.  I then embellished my trunk with the additional flowers and two butterflies I fussy cut from the collection.

This card is so pretty and has several sentiments for the back of the card that are included in the file.

Thanks for stopping by today!
Brandie

Mother’s Day Stickers Tutorial

Welcome to Thursday Tutorial.  Lori has some lovely Mother’s Day Stickers in her shop (SVG, Silhouette). I’m going to share a couple of ways to use them or any stickers in the shop.  This tutorial is specific to Silhouette, but you can use the ideas on other platforms.

1. Open the Stickers in Silhouette Studio.


2. Go to the Send Screen. If the stickers look like the picture below, select all the stickers, and Click Cut Edge.

3. You can print the stickers just like this.  Be sure to select a high quality print setting, and choose photo or presentation paper for the paper.  I used Avery Sticker paper that can easily be found at Office Supply stores.  Silhouette sticker paper is great to use as well.

4. After printing the stickers, they are ready to cut.  For the Avery Sticker paper, you want to edit the default Sticker settings.  I decreased the Force to 6.

This cut setting will cut through the sticker, but not the backing.

5. Next idea, is to make a sticker sheet. I created a box that would fit in an A2 envelope (4.25 x 5.75).

Be sure to change the color of the rectangle to blue.  Then drag and drop stickers to the rectangle, re-sizing as needed.

6. Now let’s get ready to cut. Select the Line choice at the right in the Send page.


The red line will be the sticker cut settings; the blue line will be to cut the rectangle.  Scroll down to edit the settings as needed.

So some ideas to use these stickers and sheets.  You can print some stickers out either full size sheet, or the smaller sheet.  Give some cardstock and the stickers to kids to create a fun card.

Hope you enjoy.  You can do the same activity with the Father’s Day stickers (SVG, Silhouette).

Hope you enjoy creating!

Ashley

Easter Card Cross

Happy last day of March!  Did March go by so fast for you?  It did for me! Any fun plans for April Fool’s Day?

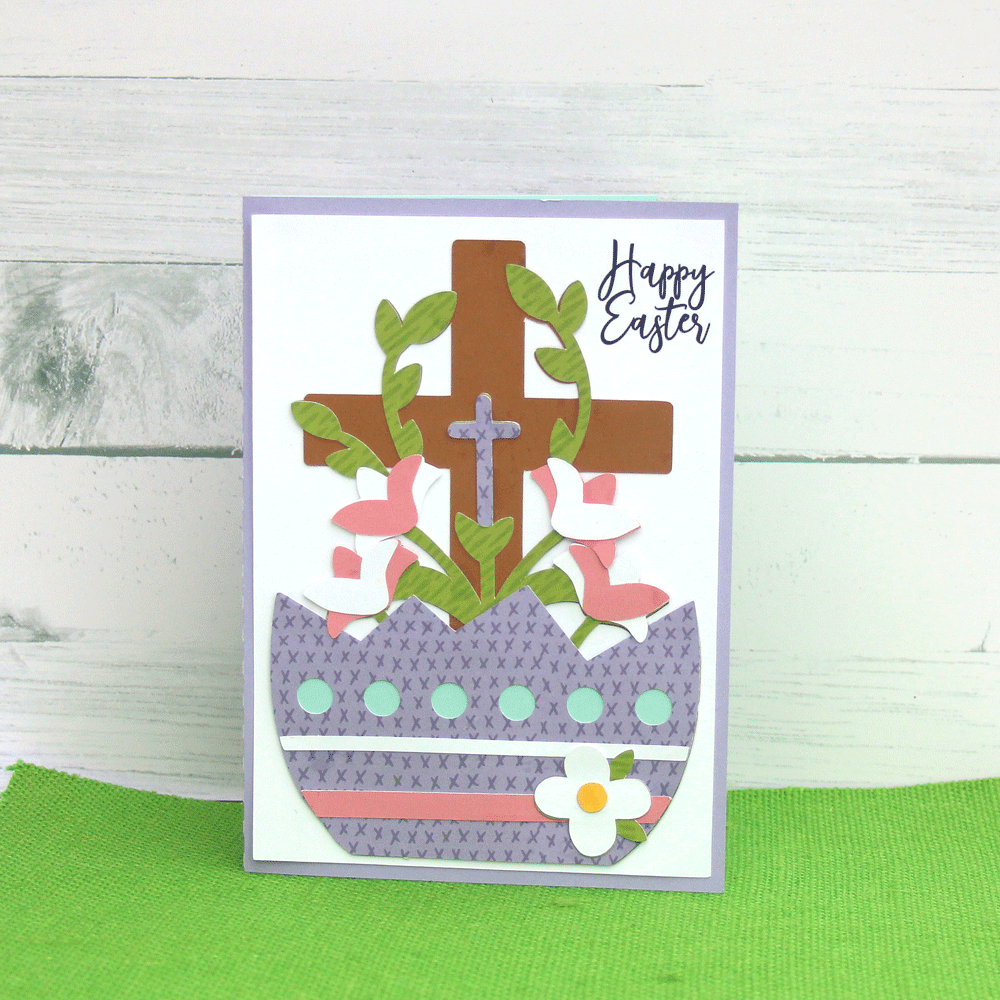
I’m sharing an Easter Card today. Plenty of time to make and send your favorite Easter cards.  Lori has so many great ones to choose from.

Easter Card Cross (SVG, Silhouette).

This card is a 5 x 7 card.  There’s a coordinating treat box in Lori’s shop as well (SVG, Silhouette).

Easter Egg Treat Box Cross

You are going to love this and the other cards and boxes.  Happy Spring!

Ashley

Box Card Easter Sheep Car

Hello everyone!

It’s my turn to share something creative on the blog, and with spring in full bloom, I couldn’t resist making something bright, cheerful, and full of seasonal charm.

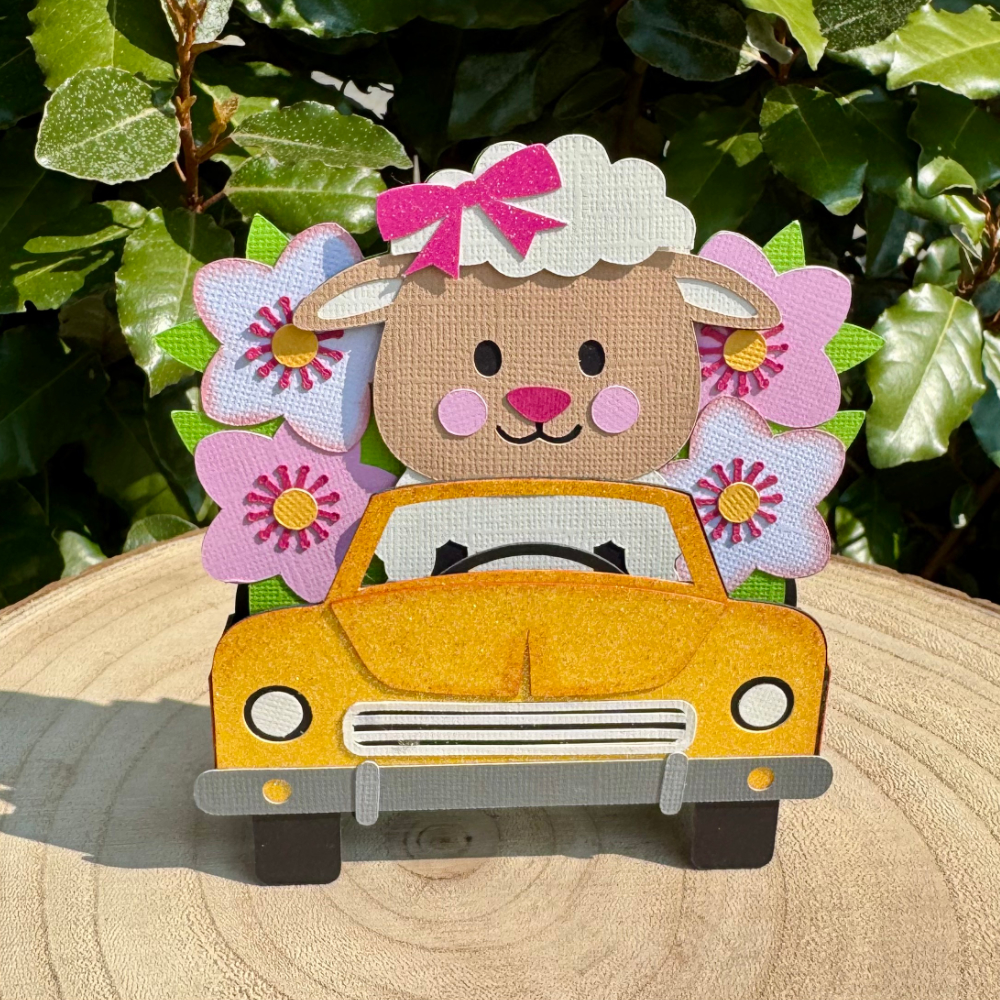
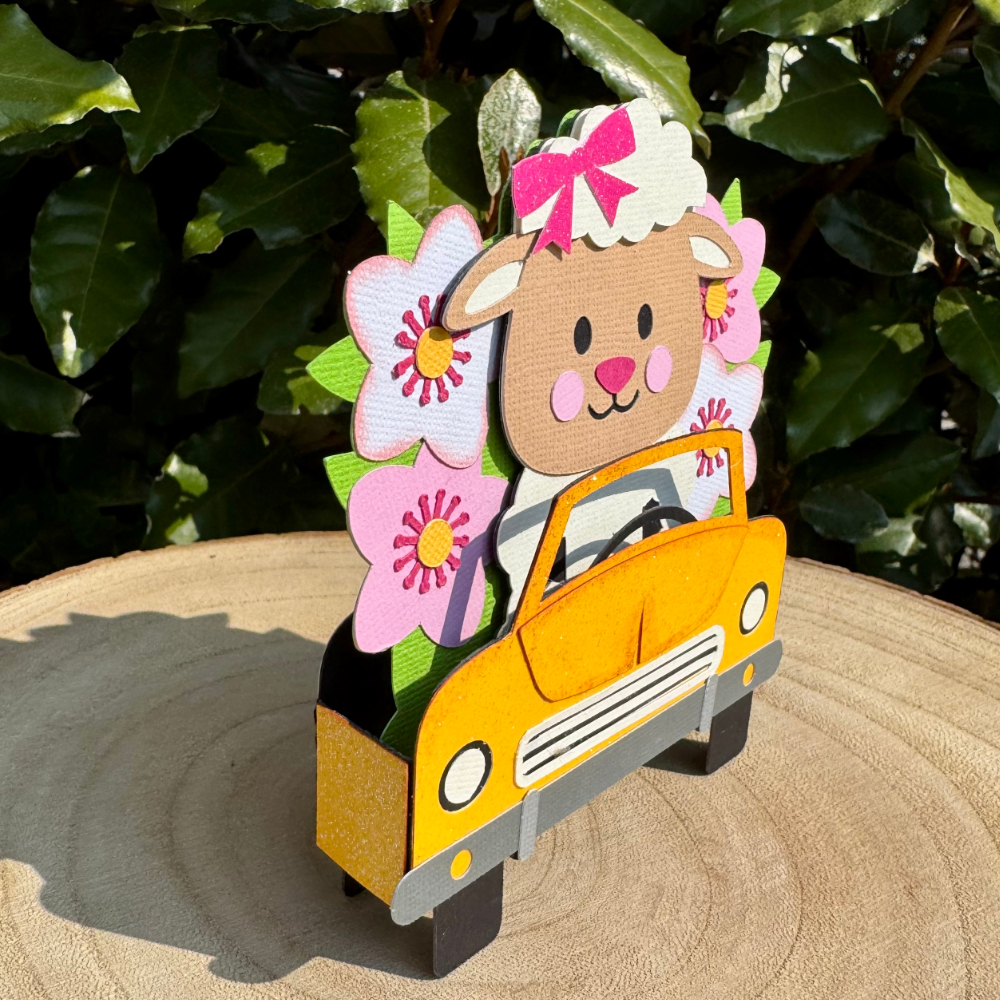
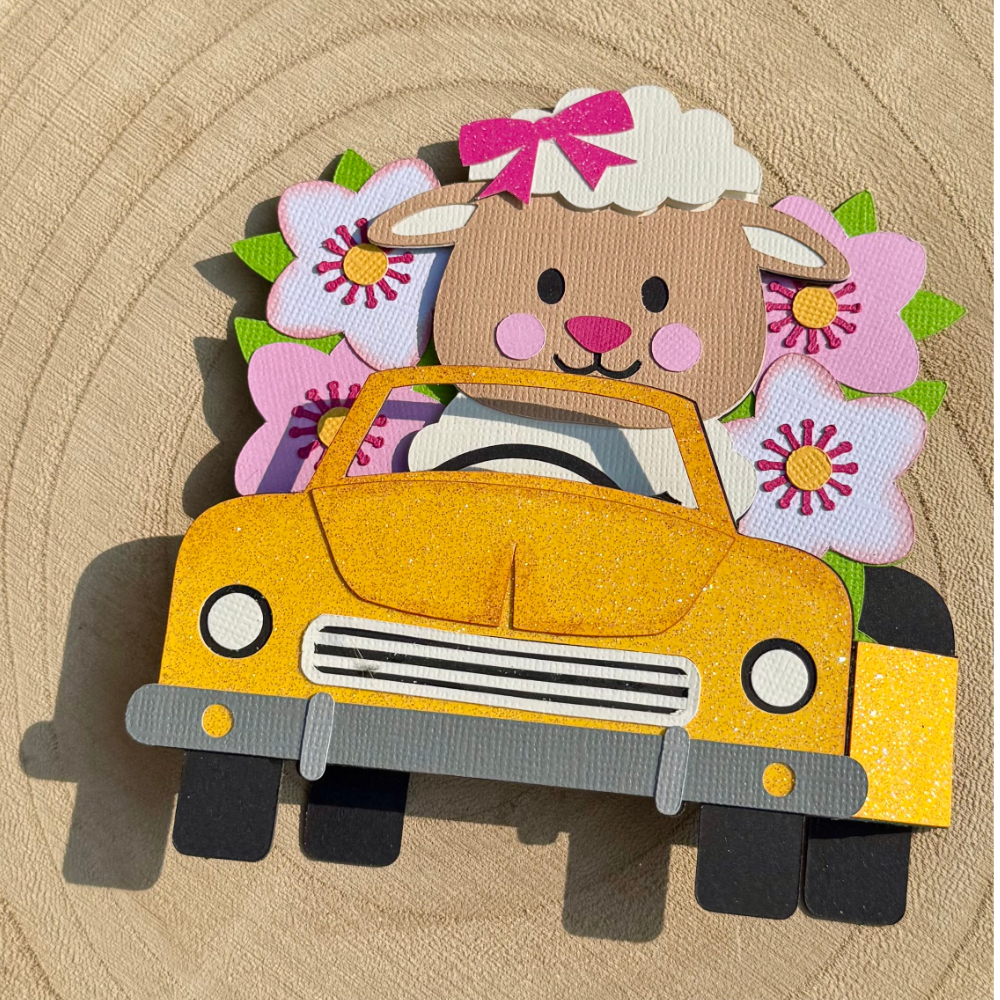
This time, I’ve created a box card featuring an adorable little sheep in a glittery car, because why not add a bit of sparkle to the season? The design can be found in the Silhouette Design Store as well as in Lori’s shop.

SILHOUETTE / SVG 

Spring is all about fresh beginnings, blooming flowers, and of course, cute baby animals. I love how this card perfectly captures that joyful feeling. The box card format makes it extra fun, as it pops up beautifully but folds flat for easy mailing—perfect for sending a little springtime happiness to someone special!

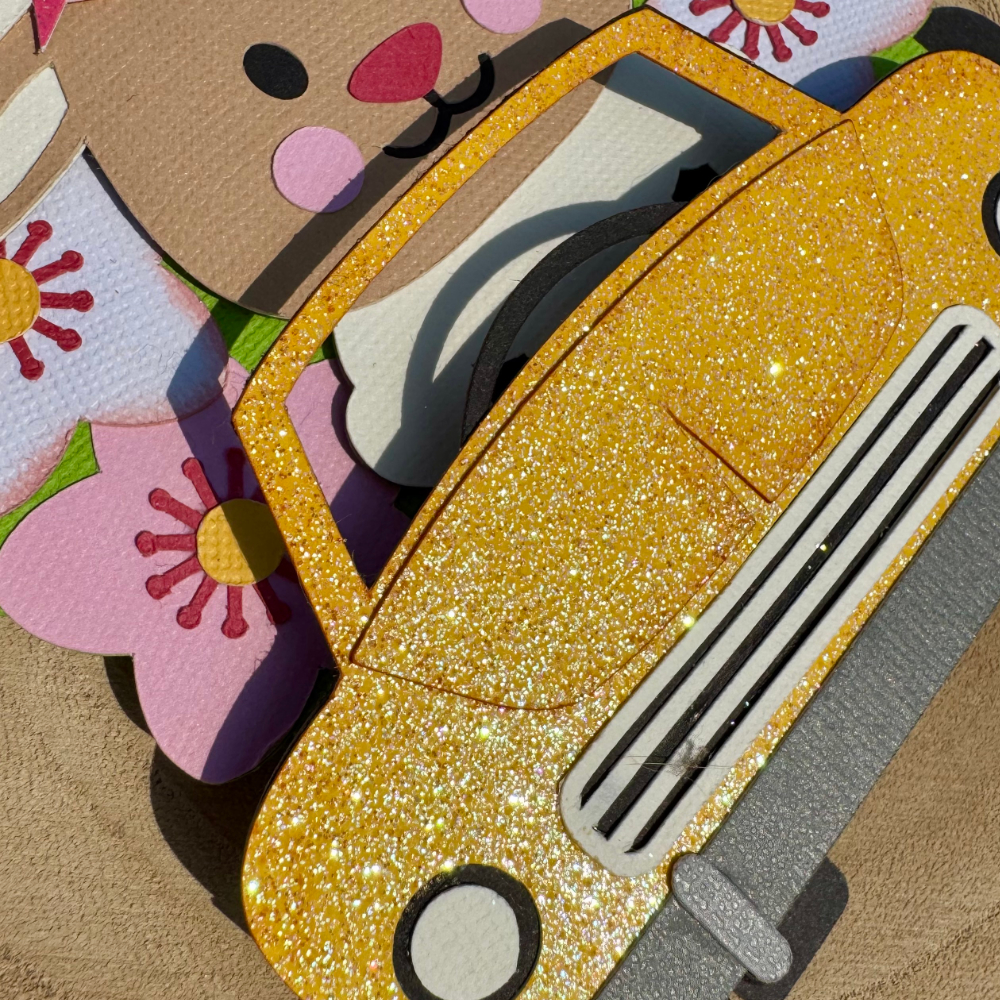
I had so much fun picking out the colors and, of course, adding glitter to make the car really stand out. Because let’s be honest—glitter makes everything better!

What’s inspiring you this spring? Are you working on any seasonal projects? I’d love to hear about them!

Happy crafting!
Tamara