
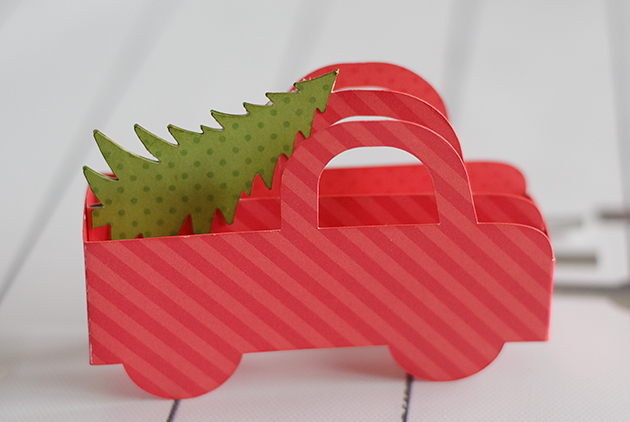
Here’s a tutorial of putting together this adorable Box Card Christmas Truck from Lori’s shop. I used Cricut Design Space and my Cricut Maker to cut this out but you can also get this file here at the Silhouette Design Store.

Here’s my finished truck, I added some snow to the tree and a Santa from Doodlebug’s Christmas Town mini icon sticker sheet. The patterned paper is Doodlebug’s ladybug and limeade dot-stripe petite prints.

I uploaded the truck into Design Space and ungrouped.
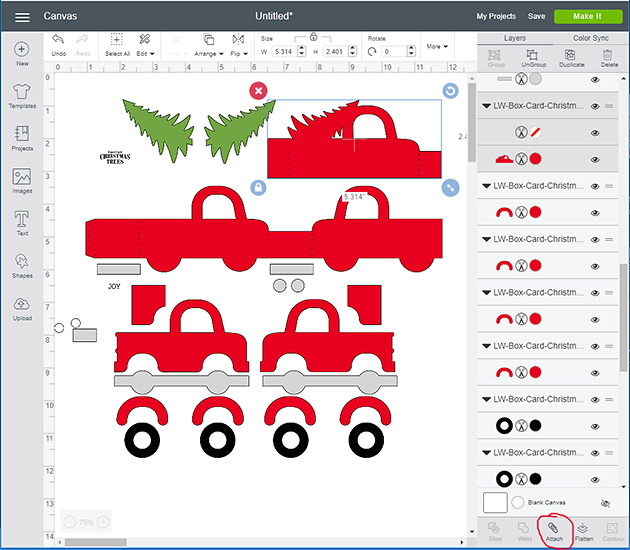
Selecting the truck piece with score lines I clicked the Attach button on the bottom right, this keeps the score lines and cut piece together when you cut. I did the same to the other piece with the score lines.
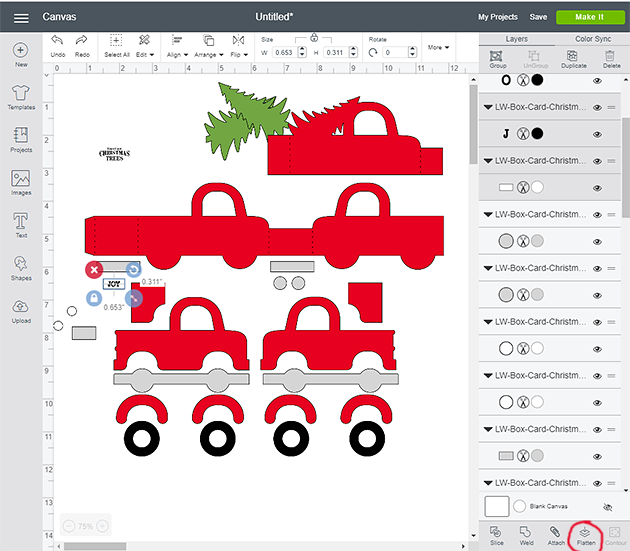
Select the JOY and Flatten, do the same to the Farm Fresh Christmas Trees sign, this is so you can print and then cut.
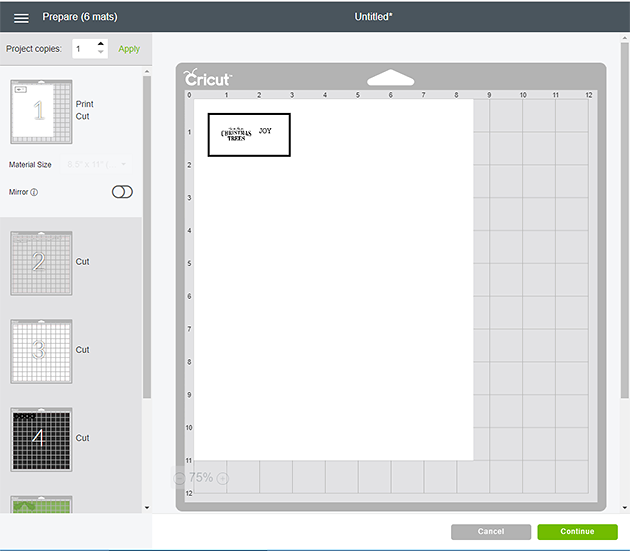
This is how the print and cut will look, you print this page out, place it on your mat and the machine will scan the black box and cut around each one.

Here are all the pieces cut out, I folded the scoreline pieces and inked the edges of the patterned pieces.
I put together the tree on the middle section first then glued and assembled the main truck piece. Then glued the middle piece flaps to the inside of the main truck. If you want you can use solid cardstock for these pieces to save on patterned paper since the pieces in the next steps below will cover both sides.

I glued down the door first, then the silver running board, the tires on top of that and last pop dotted the fenders. Next, I glued each finished side to the truck base. Last I added the Joy to the back and the lights to the front.
