Shadowbox Box Card with Traci

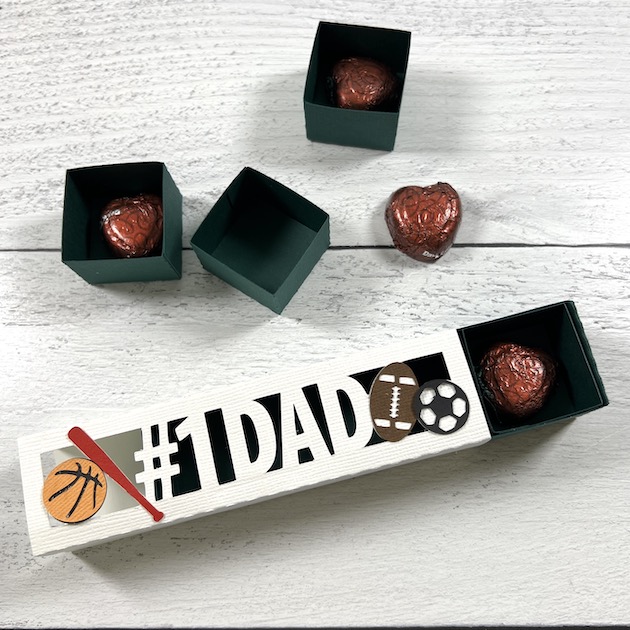
Hello everyone! Traci here and today I’m sharing a tutorial on how to make this spooky little Shadowbox Bat Card (SVG, Silhouette). I created this with one of Lori’s fantastic cutting files and it makes the cutest card for Halloween! What a great way to let someone know you’re thinking of them around the holiday.

Halloween Shadowbox Bat Card Tutorial

To get started, I cut out all of the base pieces first and laid them out on my craft table.

Halloween Shadowbox Bat Card Tutorial made with a Lori Whitlock cutting file

Then I adhered the pattern paper to the base card, making sure to keep the design going the right direction. I learned this the hard way when I glued my hearts upside down. 😊

Halloween Shadowbox Bat Card Tutorial

Next, I added the black bat pieces to the white card stock …

Halloween Shadowbox Bat Card Tutorial with spiderwebs, a spider, and hearts

I embellished the bat’s eyes with some sparkly gold gems. Then, I added a cute spider icon sticker (from Doodlebug’s Sweet & Spooky Collection) to the white spider space just below the bat’s wing.

Halloween Shadowbox Card Tutorial with bats, gems, and a spider

Once all of the pieces were adhered, I slipped the white page tabs into the base card slots and glued the black base on to create a box.

Halloween Shadowbox Card Tutorial with bats, spider, spider webs, and gems for eyes

I love how Lori’s box cards can stand alone to be displayed on a shelf, desk, or a counter AND … also fold flat for tucking into envelopes and mailing. So fun! 

Here’s the file I used called A2 Shadowbox Card Halloween Bats …


A2 Shadowbox Card Halloween Bats cutting file by Lori Whitlock


I hope you’ll give this fun cutting file a try. It’s simple to create and makes such a festive Halloween card. Thanks for stopping by and happy crafting!


Blog * Shop * Facebook * Instagram * Pinterest

5×5 Card Happy Birthday Words and Box with Handle and Wrap

Happy Monday friends!  I needed a birthday card and small gift box for a little boy last week, so what better place to look than Lori’s site for some fun cutting files!? 

I love this super easy 5″ x 5″ birthday card because all the hard work is already done for you!  Placing individual letters like the sentiment above can take some time to get it right, but Lori has made this one easy! 

The green pattern has the cut outs for the letter centers, and then the Happy Birthday actually uses the negative space (save the letters that get cut out for a future project)!  

The box is made from two pieces of paper.  The base of the box folds up, and then there a a pattern piece that wraps around the box — almost like wrapping paper.  Isn’t that cute?  And so simple!


The box is the perfect size for a small gift, a gift card, or candy.  I know this car-loving birthday boy will love the surprise tucked into this gift.


To create a gift set like this, visit Lori’s SVG shop with the links below.  For the Silhouette shop, click here and here. Happy crafting!


Shadow Box Bee Card Tutorial

Hello friends! Traci here and today I have the cutest little card to share with you that’s perfect for summer. I made it using one of Lori’s awesome cutting files called Shadow Box Bee Card (SVG, Silhouette) and I’m so in love with all the pretty layers!

Shadowbox Bee Card made with a Lori Whitlock cutting file


I’ve had so much fun creating with Lori’s Bee Happy Collection that she designed for Echo Park. So, I chose the honeycomb print from it called Life is Sweet for the front and the solid green for the leaves and stems. The colors were perfect. 

Here’s a quick tutorial on how I put the card together …

Cut out all of the white pieces first so that you can see how
the colored pieces are going to be adhered.

Shadowbox Bee Card Tutorial by Artsy Albums

Add your colored patterned paper to the white cardstock pieces before gluing the 2 card bases together. 

Then adhere one of the base tabs to the back of the other base as shown above. The other tab (on the right side in the photo above) will be what you use later to secure the front with.

Shadowbox Bee Card Tutorial by Artsy Albums


Adhere all of the fun colored pieces to the 3 inside white scenes.  

Shadowbox Bee Card Tutorial by Artsy Albums


Then add the scenes inside the shadowbox base. Start with the blue flowers first, inserting the tabs into the slots on the sides.

Shadowbox Bee Card Tutorial by Artsy Albums

Repeat this for the bee scene, then continue with the last one that has the red flowers.

Shadowbox Bee Card Tutorial by Artsy Albums


Once they are securely in place, you can close the front of the card and adhere it to the tab on the left.

Shadowbox Bee Card Tutorial by Artsy Albums using a Lori Whitlock cutting file


And voila!! You’ve got an un-bee-lievably cute card to send to someone special. When it’s open, it can stand alone on a shelf, desk, or counter for display.

Shadowbox Bee Card Tutorial by Artsy Albums

But when it’s being sent through the mail or stored, it can be folded flat. I hope you have fun with this one! Thanks for stopping by the blog and have a great day!


Blog * Shop * Facebook * Instagram * Pinterest

4 Candy Drawer #1 Dad Sports Tutorial

Hello friends!  Traci back to share a simple gift box project with you!  What dad wouldn’t want to receive this sweet treat box on Father’s Day?  You can find this one here (SVG, Silhouette).

I love how simple this design is and such a fun idea for tiny gifts or candy!


Here are a few tips for assembling this project.  First, use a medium weight card stock for the boxes and the “drawer”… probably less than 100#.  If the card stock is too thick, it might make the drawer a little tight.  I used Bazzill 80# (Jade) and it worked perfectly.  


Tip #2:  If you fold all of the score lines on the little boxes correctly, as in the photo above, you will hide all of the glue tabs and end up with a nice solid base. 


I love how the little boxes are removable!  This way you can use 1,2,3, or all four.  This design is great for a sports loving dad, but Lori has other styles too (SVG), so be sure to check out her other new designs.


Thanks for stopping by the blog today!  Have fun making a handmade gift for a dad in your life! Father’s Day is on Sunday, June 18!  

Blog * Shop * Facebook * Instagram * Pinterest


Honey Jar Mini Album

Hello, my friends!  Traci here with a fun take on one of Lori’s brand new shaped cards.  I turned it into a mini album (and if you follow me, you know minis are my thing, LOL!). Lori’s adorable new Honey Jar card (SVG, Silhouette) inspired me to turn the card into pages!  Check it out …


I started with the cutting file base and cut it out 3 times.  Then, instead of folding the pieces along the scoreline for a card, I cut the 2 halves of the card in half along the scoreline and created 6 pages (I actually only used 5 for my album).  


Once I cut the black base pages, I created an internal offset in my Silhouette software and cut out 10 cute patterns from Lori’s new Bee Happy 6×6 paper pad (Echo Park).  I love how all of the patterns look layered together when the album is fanned out 🙂


Lori’s Nested Scallop circles (SVG, Silhouette) make great photo mats!  I just punched a 2.5″ round circle for the patterns inside.


Along with the cute scallop mats, I also used stickers and die cuts from Lori’s new Bee Happy collection.  I did trim off the small flowers in the lower left hand of the jar.  


I hope you like my take on Lori’s adorable Honey Jar card!  Please visit my blog over at Artsy Albums sometime to say hello!  Until next time, happy crafting!!