Hello, all! Rachael here today, to show you how to use brushes and stamps on your digital layout. I will be demonstrating this technique in Photoshop CC, but the principles are the same in Photoshop Elements. Let’s go ahead and get started, shall we?
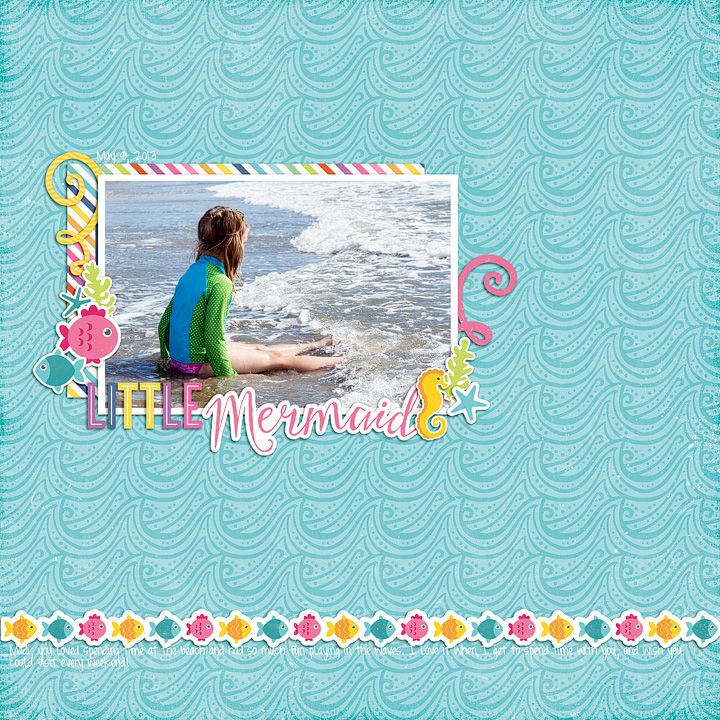
For this layout, I used a solid yellow paper as the background. Solid papers are a great starting point for adding brushwork.
The first step is to create a blank layer for your brush strokes:

Next, you’ll want to activate the brush tool. In Photoshop, this tool looks like a paintbrush and can be activated by using the hotkey (B) on your keyboard. Once the tool is activated, you could go ahead and use the default brushes. However, we are going to use some of Lori Whitlock’s very cool brushes in this layout. To load additional brushes, click the drop-down arrow next to the currently active brush:

The brushes window will open, displaying all available brushes in the current brush set. Click the gear icon in this window to load new brushes:

The next window gives you a series of options. You can either Reset the brushes, which replaces the brush set with the default brushes; Load brushes, which appends the brushes in the new brush set to the existing brushes; or Replace brushes, which replaces all loaded brushes with the ones in the brush set you select. There are, of course, numerous additional options within the menu, which you can explore and experiment with as you see fit. For now, go ahead and select the “Load Brushes” option.

Navigate to the folder that contains the brush set you wish to use, and double-click to load the brushes.

To view the brushes in the brush set, click the drop-down arrow next to the current brush (refer to the second step, above). This menu displays a thumbnail icon for each brush in the brush set. Select the brush you wish to use, and set your foreground color.

Go ahead and place your curser, which should now be in the shape of your brush, in the location you desire.

Since you’ve placed the brush stroke on its own layer, you can move the brush around and rotate or manipulate it as needed, just as you would any other design element. You can also change the blending mode of the brush layer, to get different results. For this next brush stroke, I stamped in black and then changed the blending mode to Overlay and reduced the opacity to 40%:


Digital brushes and stamps are a fun and easy way to add complexity and depth to your layout. Feel free to play around with the options and find what works best for you.
I hope this inspires you to try something new!
The following products were used in this layout:
Echo Park (designed by Lori Whitlock): For the Record Collection
Flourish Brushes
Everyday Stamps
Everyday Stamps 2