Mermaid Birthday- by Lezlye Lauterbach

Welcome to Lori’s Blog. Today, I’d like to tell you some of my little tricks for sprucing up my digital cut files.   I start by importing the SVG file into my Cricut Design Space just as is.   (Make sure to attach your score lines to each piece after ungrouping the design.)   The cutting on these files is really easy.  Just choose your paper colors and the Cricut Explore prompts you when to change the paper.

Here are all the pieces cut.

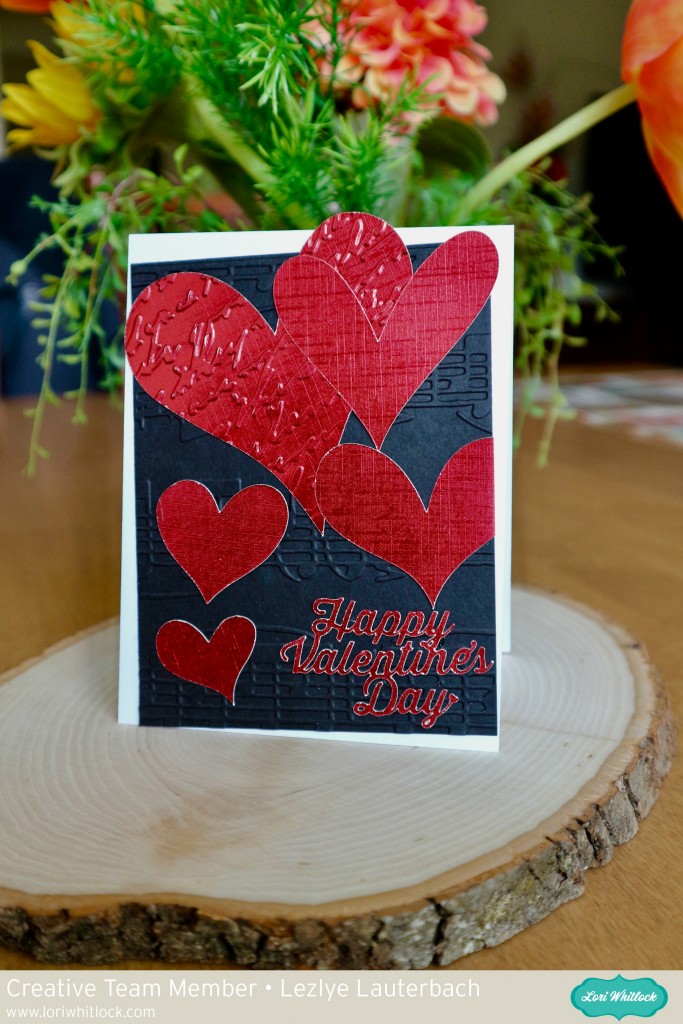
Now to personalize it a bit!  To add a little dimension to the background pieces,  I used a bubbles embossing folder.   Because the paper was larger than the folder I ran it through twice moving the paper to cover the whole piece.

I used a background wave stamp to add to the wave cuts with a white unicorn ink.  This gives it more of an ocean feel!

Now for some sparkle!  I used some Nuvo glimmer for the mermaid’s tail!

It’s easy to customize your cards, just add a little ink,  Stickles and/or glossy accents to dress up your pieces!

Thanks for stopping by..

You can find this fabulous file at the following links:

Little Mermaid Box Card Silhouette Here

Echo Park Papers

For Peeps Sake with Lezlye

Happy Spring! Lezlye here today! When I start seeing” Peeps” at the store I know that Spring is here. Now if the weather would cooperate and be as bright and cheery as this card I would be a very happy girl!


I modified Lori’s row of peeps, by cutting them apart. I wanted to be able to make several of these cards to send out to some of my crafty friends. I chose to use Lori’s  Echo Park collection Celebrate Easter for my papers. I love to layer pretty patterns and solids. So bright and fun! I added some iridescent cording behind my popped up peep and also some iridescent shreds for sparkle.


Hope you enjoy!
That’s it for me today!
Products I used:
Easter Candy Set Silhouette here
Simple Borders Sillhouette here
Echo Park by Lori Whitlock Celebrate Easter Collection

//

Early St.Pat’s Day Wish with Lezlye

Happy early St. Pat’s Day! These center box card files are so much fun. They make for a nice stand up card on someone’s desk or table.

I love the print and cut sentiments that come with the cards!  Here is the process for print and cut using Cricut. First you need to ungroup your images. Then select the whole sentiment piece and click attach.  In addition, click the scissors and change it to print.

When you select cut,  Cricut will prompt you to put your paper in your printer to print.  When printed, place this paper on your mat when prompted to cut.  Print and Cut is a nice feature !  Could you imagine cutting and gluing all those little letters?

These are all the pieces of the card cut out. I added some inking and Stickles,  then easily put it all together.  If you need more help with the assembly, you can see Lori’s Center Box Card Tutorial here.   The papers are from a few different Echo Park collections, designed by Lori.  I’ve listed them below.

I hope you’ll head on over to Lori’s Shop and give these a try! They do make you smile and you could make someone else smile by sharing your creation with them.

Have a great Day!

Here are the links to the files and papers I used.

Center Box Card ( In the Silhouette Store here)

Echo Park Paper

Celebrate Easter

I Love Family

I Love Winter

Happiness is Homemade
//

Luck of the Irish by Lezlye

Feeling Lucky? I had so much fun creating the Love banner last week, I just had to whip up this one for March! I used two files from Lori’s shop, enlarging the group from the original imported size.  The Lucky Banner and the St. Pat’s Day Icon’s. The various green cardstock’s are Echo Park Happiness is Homemade and Celebrate Easter.

I used my embossing folders again and ink to add texture to the clovers. Always add stickles, glossy accents, flowers and ribbon. I love the gold glittery cardstock I found in my stash.

I like to re-enforce my pennant holes with eyelets, I choose Tulle to string my banner and added a bow in between each pennant. After assembling this one I wished I would have stenciled the white pieces with some light ink, also patterned paper would be nice here too!

Hope you enjoyed my little luck of the Irish! I am all ready hanging it on my mantle!

Here are the links to the file and products I used.

Lucky Banner  Silhouette here

St. Pat’s Icons Silhouette here

Echo Park Homemade Happiness

Echo Park Celebrate Easter


Textured Valentine by Lezlye

Welcome the Lori Whitlock Blog. Today I wanted to share a simple masculine Valentine with you. I enjoy taking basic shapes and adding texture to them. I used Lori’s awesome Heart Cluster.

I wanted just a blog card with the red and black. Adding the music and script texture to the heart and background. I used embossing folders to do this. I shrunk down the Happy Valentine’s Day sized for a card, this is a great way to stretch your titles into sentiments. Super easy to resize using cricut design space.

Valentine’s Day is next week.. How did that happen? Check out Lori’s Store for ready made files for cards, boxes, treat holders and a whole lot more! Have a fabulous Day!

Just in case you missed my embedded file links here they are:

Valentine Word Art (here in Silhouette Store)

Heart Cluster (here in Silhouette Store)