3D Witch’s Hat Tutorial

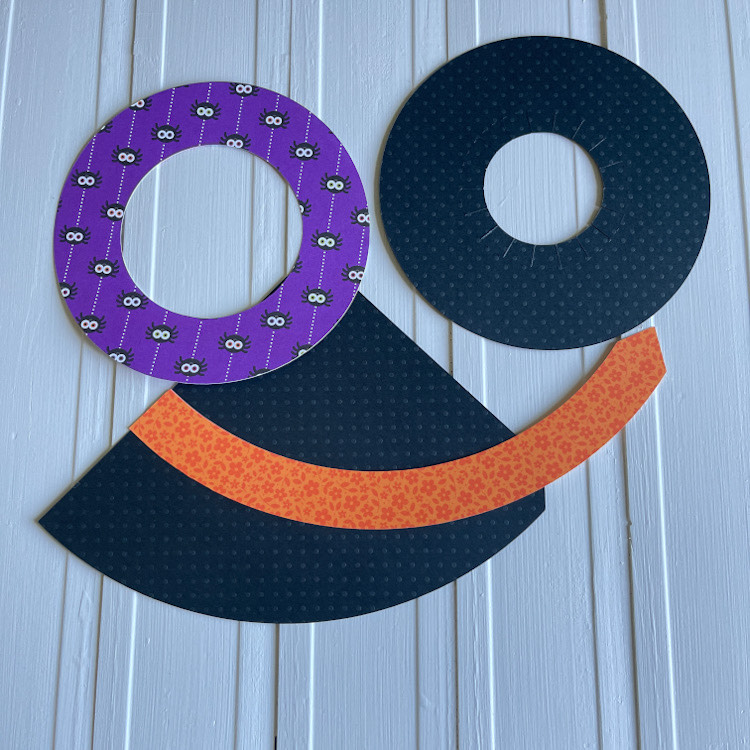
Happy almost Halloween!  My very favorite time of the year to paper craft.  I just love all things Halloween….seriously my favorite holiday.  I have a fun, simple quick project for you.  Just a few simple steps and you have a cute little decoration to add to your décor.  I started with Lori’s 3 D Witch Hat (SVG, Silhouette).  It’s a simple file  to cut, only 3 colors!  After cutting, this is what you will have.
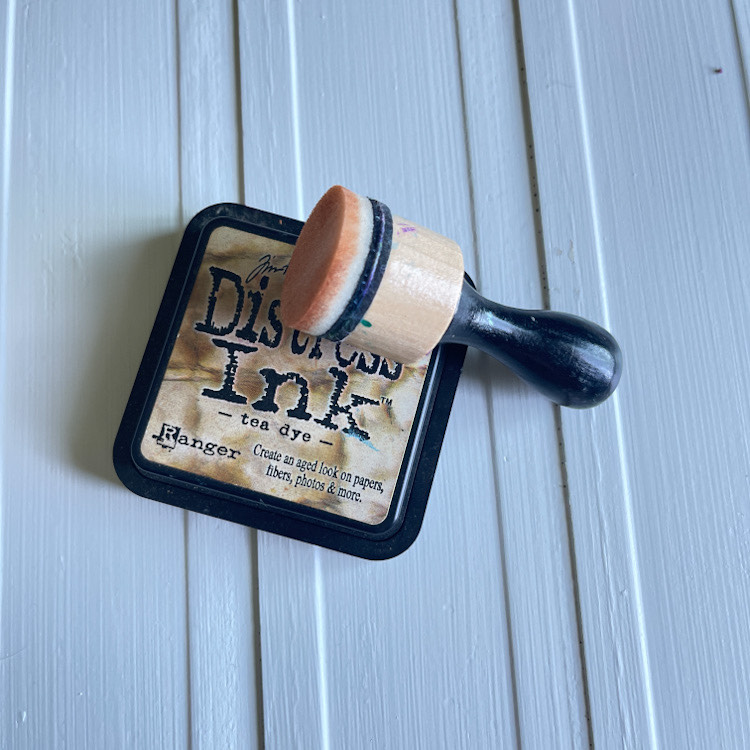
Next, I just inked the edges of my patterned paper.
Fold up all the tabs of the brim of the hat.
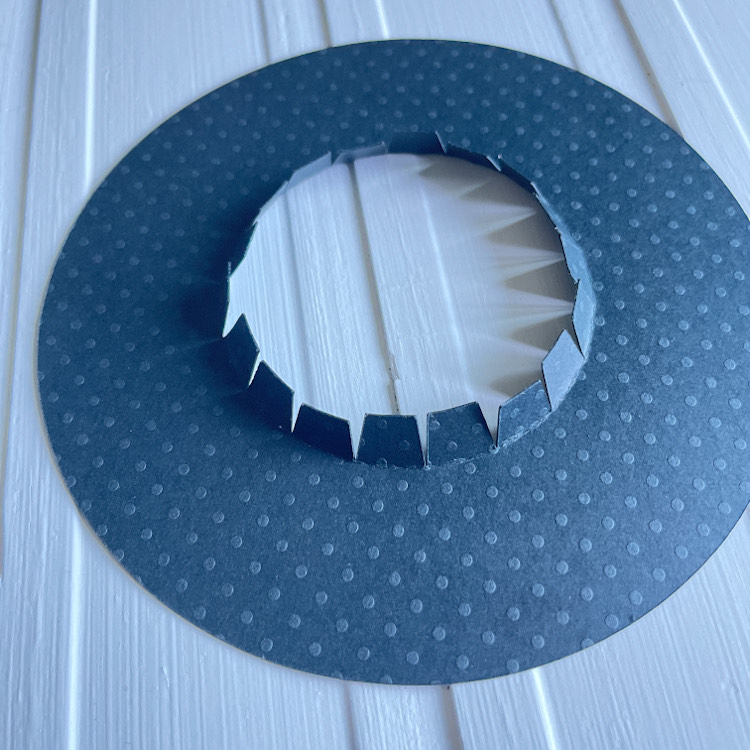
Add your pattered paper circle to the brim.
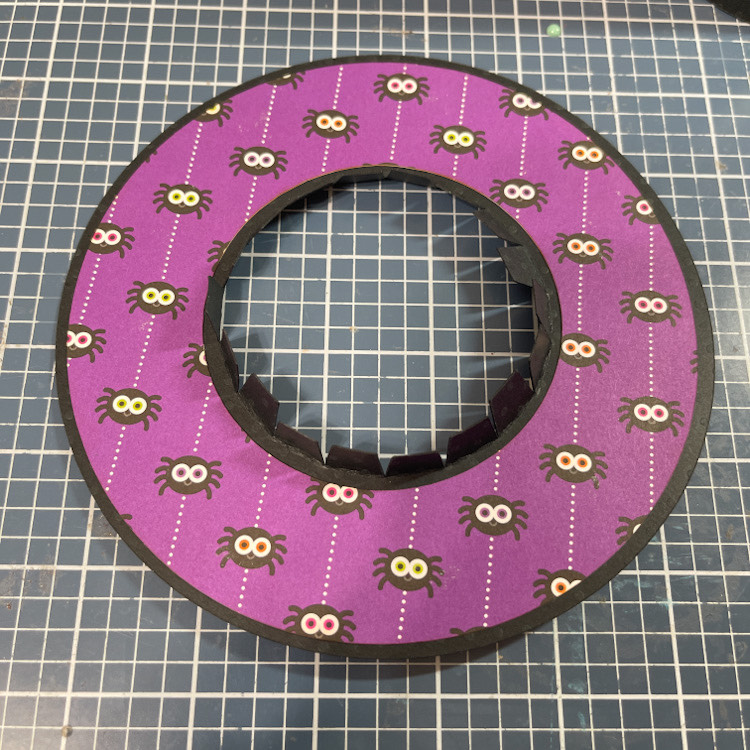
Now your ready for the rest of the hat.  I ran my black card stock over the edge of my table a few times to get a nice curve and break down the fibers in the card stock to make it roll easier.
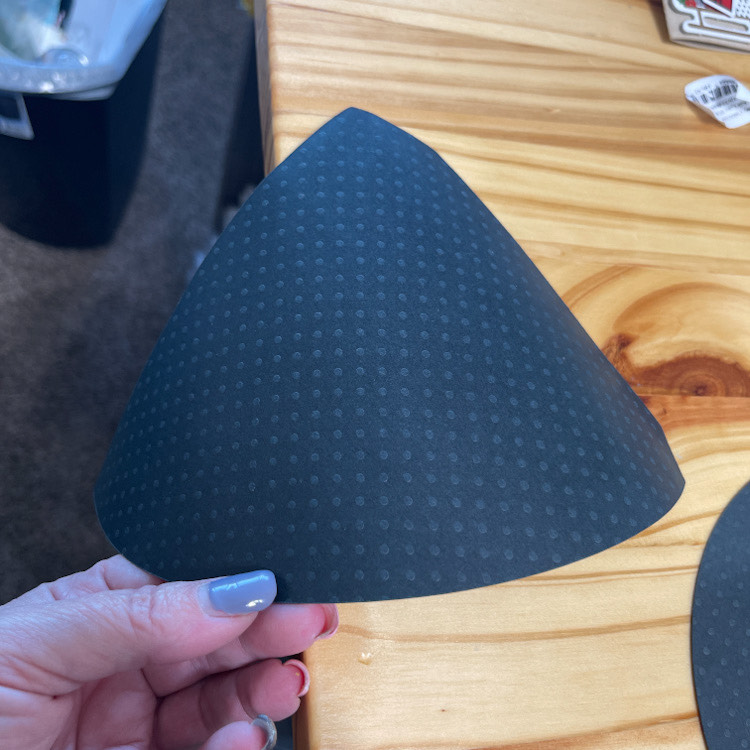
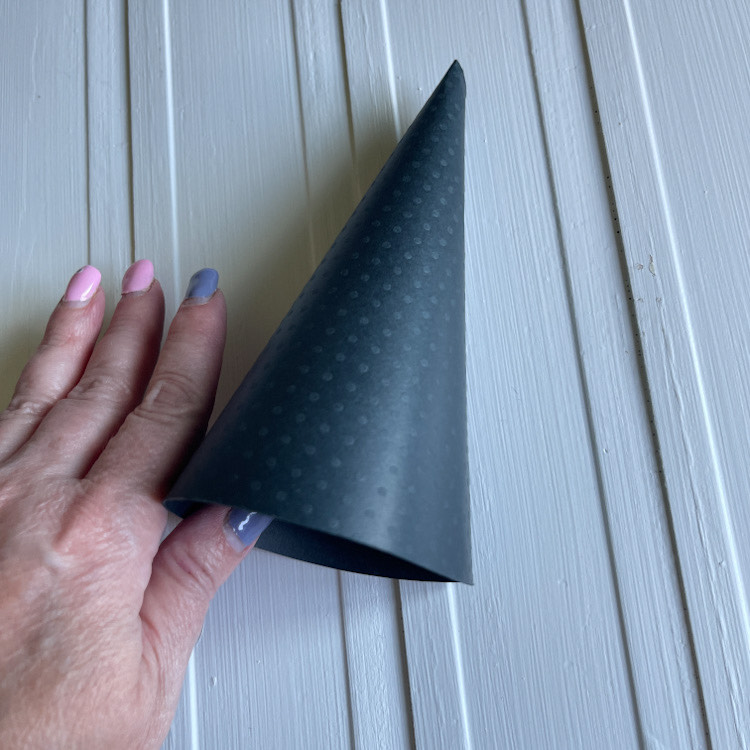
Then add double sided tape to your seam and roll until you have a cone shape….
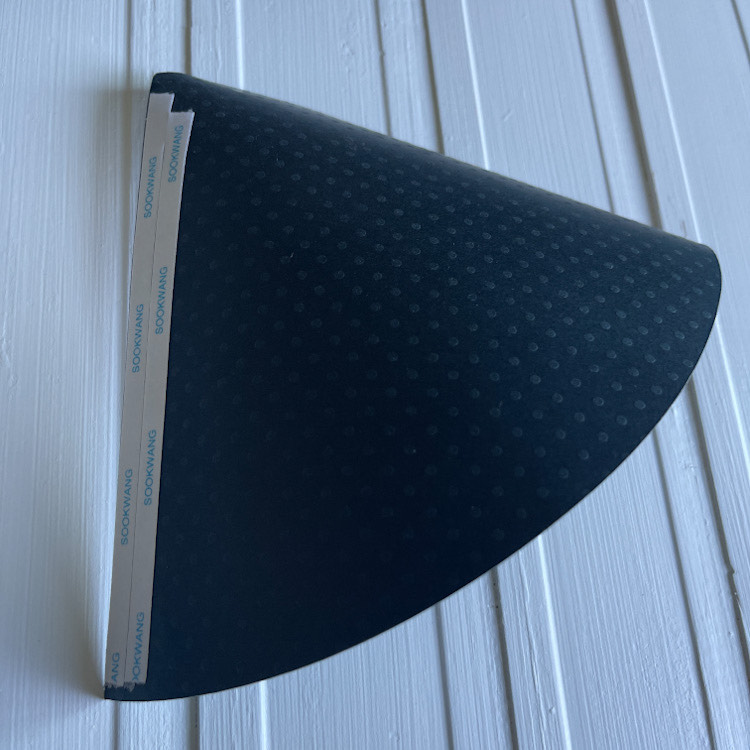
Like this….
Now insert your cone into the brim of the hat, with all of those tabs going up.
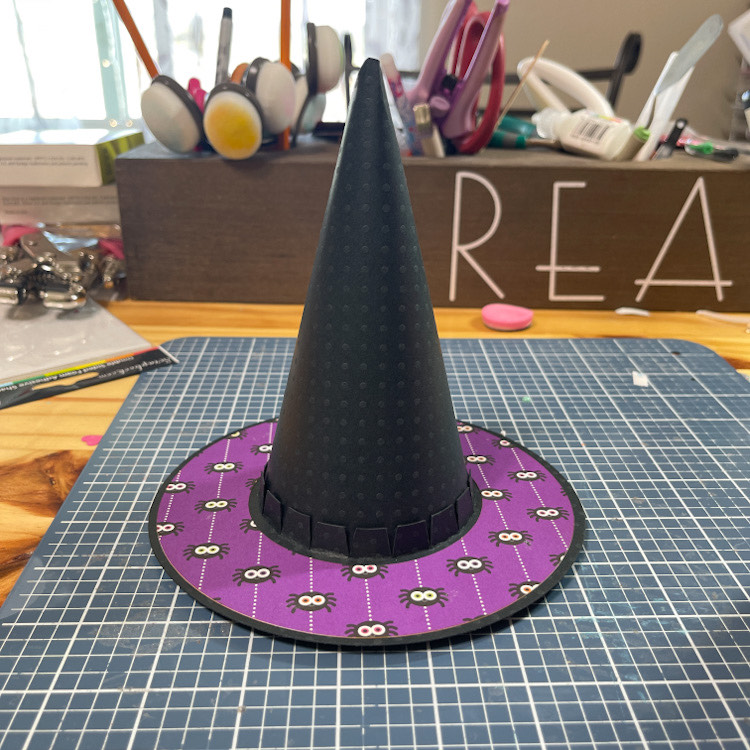
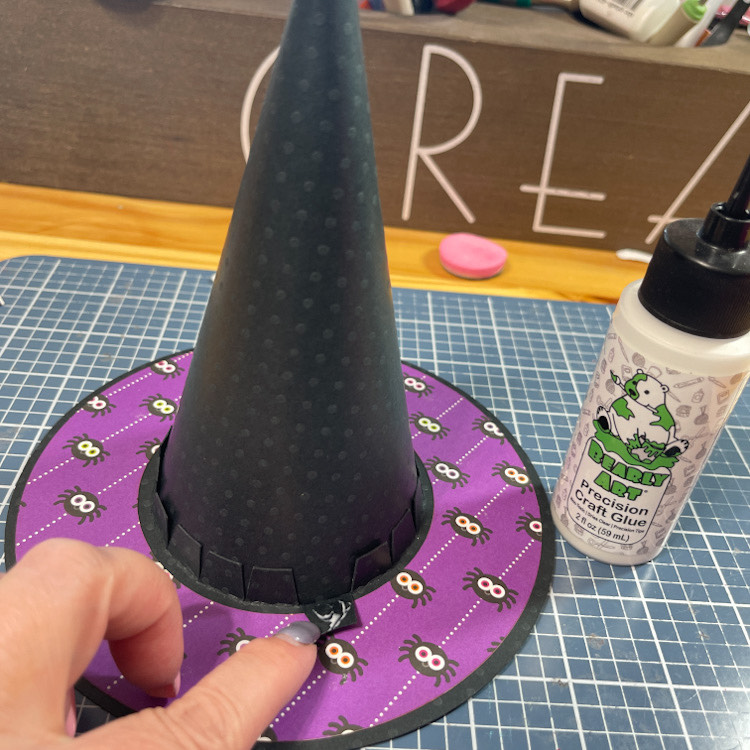
One by one, I glued the tabs with some strong glue.  Then add your band for the hat around the bottom of the cone and over those tabs and adhere.  Yes, I forgot to take the last picture.
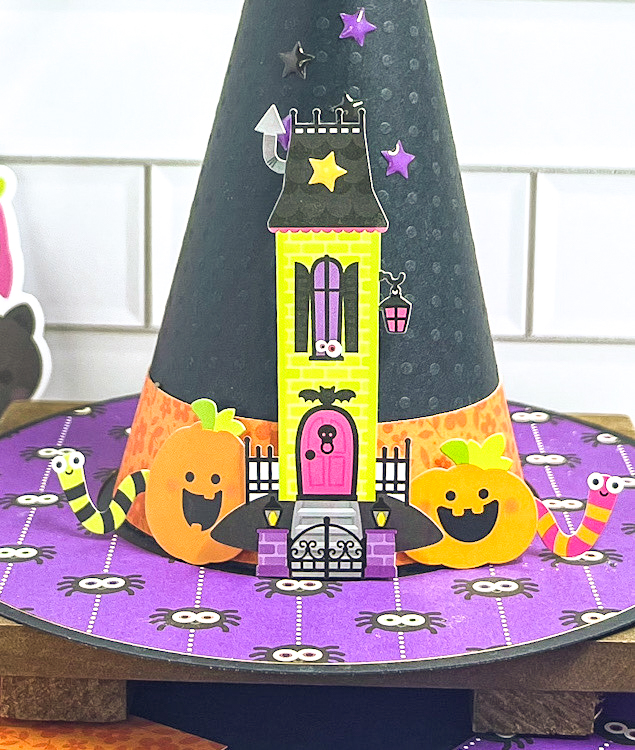
Then I just added some fun embellishments with a few pop dots and a little baby powder for they wouldn’t stick in certain places.!
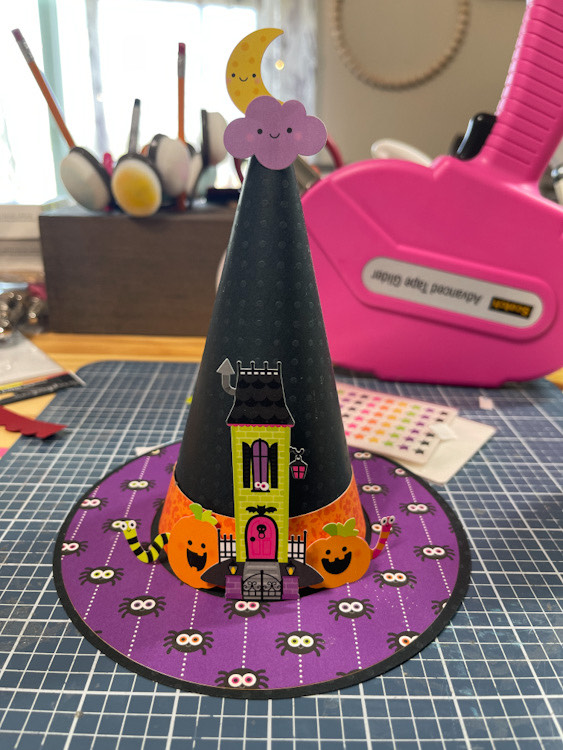
It just makes me happy. I love it!
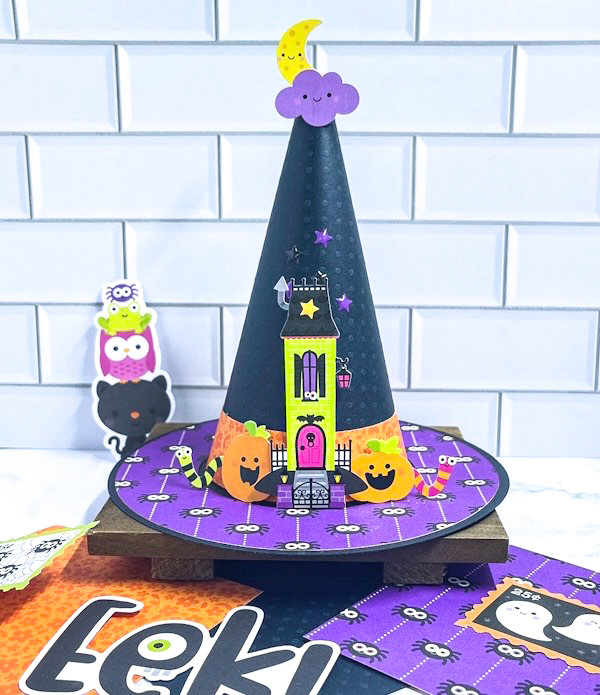
Here’s a little close up of the scene.  EEEEEKKKKKKK!  So cute! 
Thank you for stopping by ~Cathy


A Back to School Backpack

Hi everyone!  It’s that time of year, the kiddos are headed back to school and summer is coming to an end.  I love back to school time and even though my kids are raising their own families now, I still love to shop for school supplies.  There are always so many fun things, I just can’t resist!

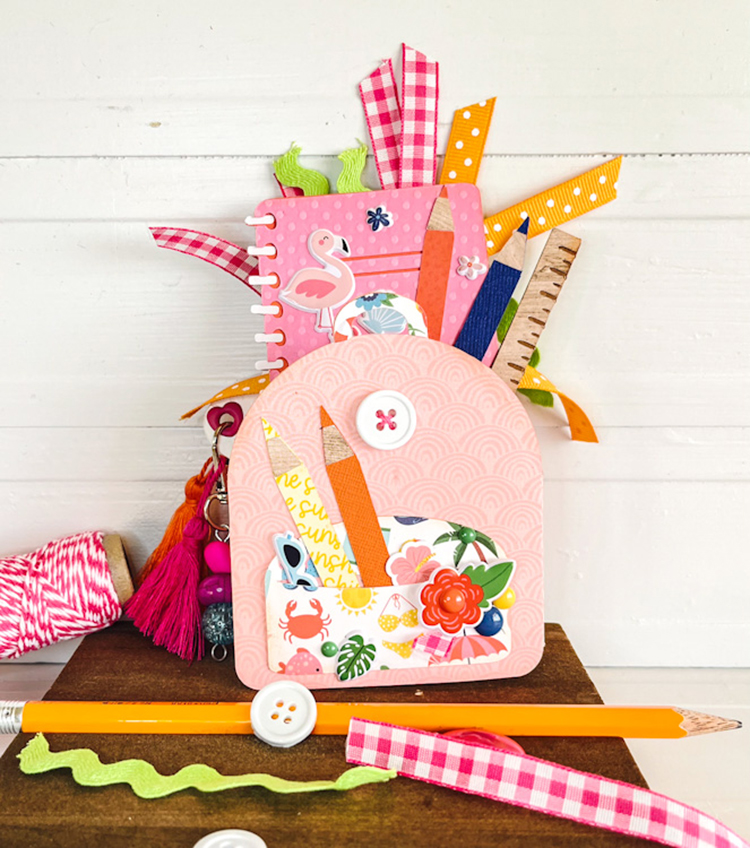
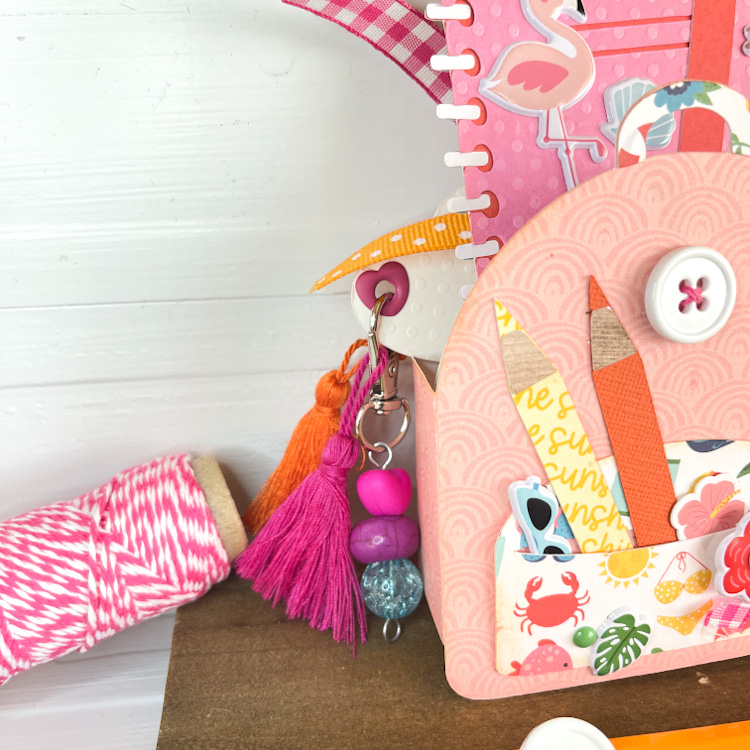
My grand kids all went back to school last week and one started Kindergarten, so I wanted to send her a fun little surprise in the mail.  She loves to get mail!  I created Lori’s Box Card Backpack School (SVG, Silhouette) for her.  Her backpack this year is covered in flamingos.  She loves them, so I tried to incorporate that into her card along with some fun tassels and beads like the one she has.  She loved this and also loved that it came with a little cash stuck inside.  Maybe that’s why she loves getting mail from Grandma.

Here’s a little tip to share with you, I cut the spiral little tiny pieces out of vinyl.  It just seems for little tiny detail work, vinyl works well for me.

I used Lori’s Endless Summer Collection to create my project today.  It was just the perfect collection with all the little things to match her real backpack.

Thanks for stopping by

~Cathy
 

Welcome To The Farm Mini Album

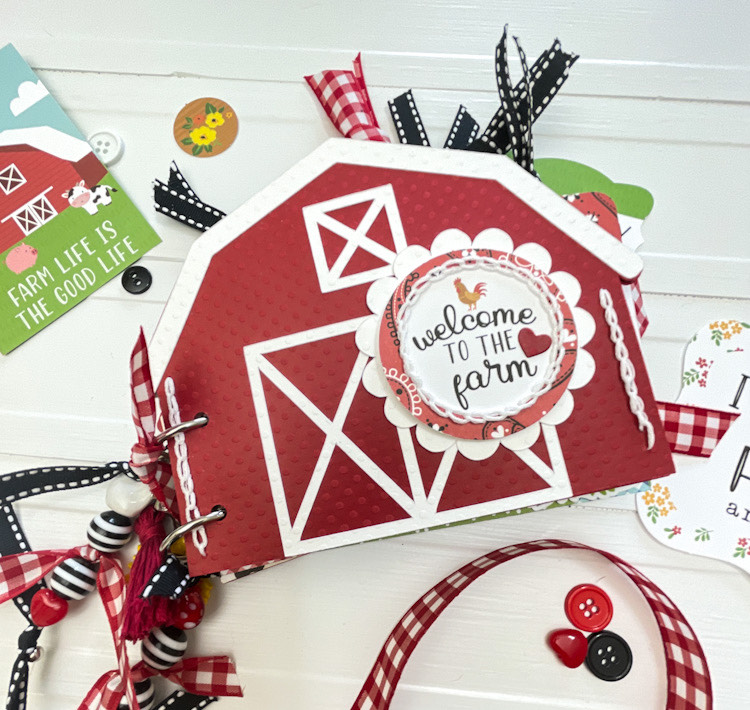
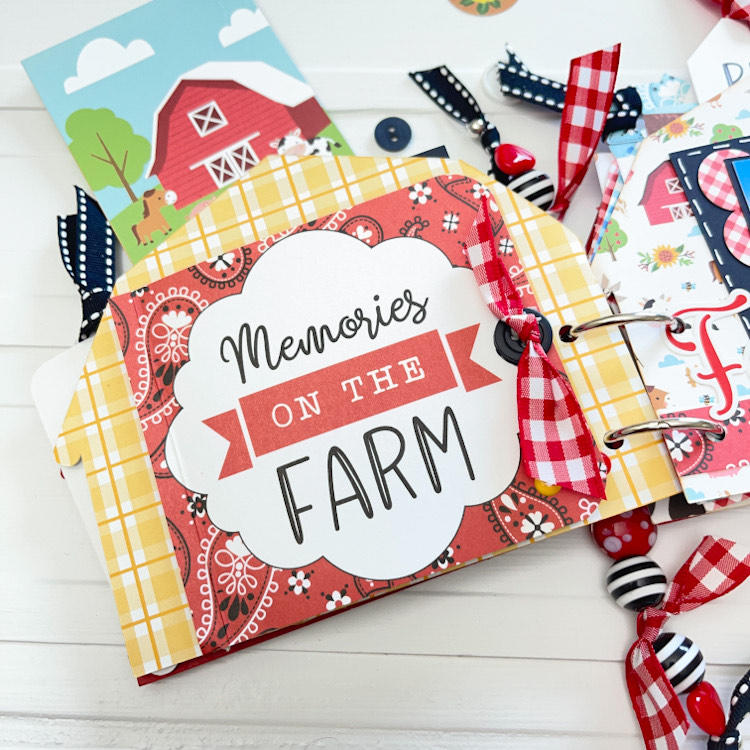
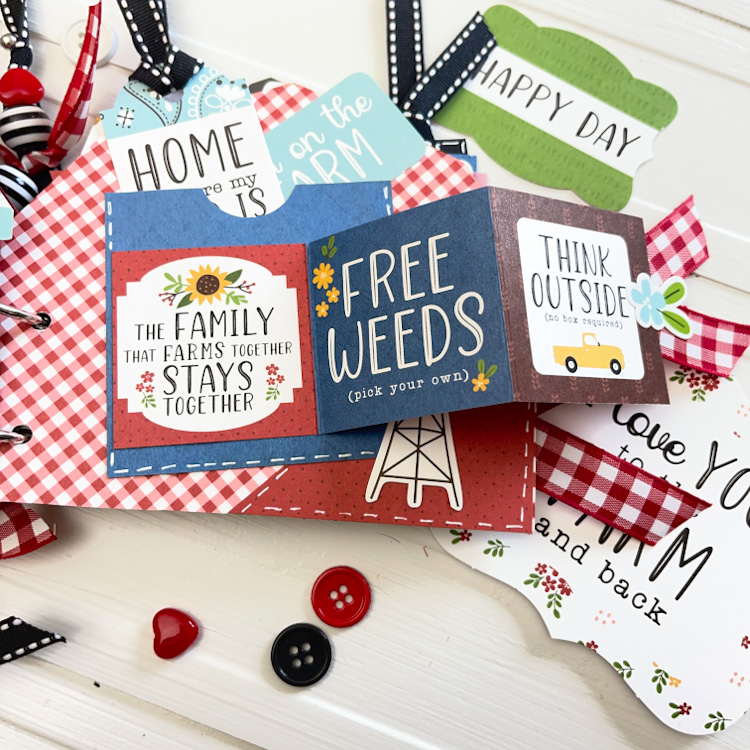
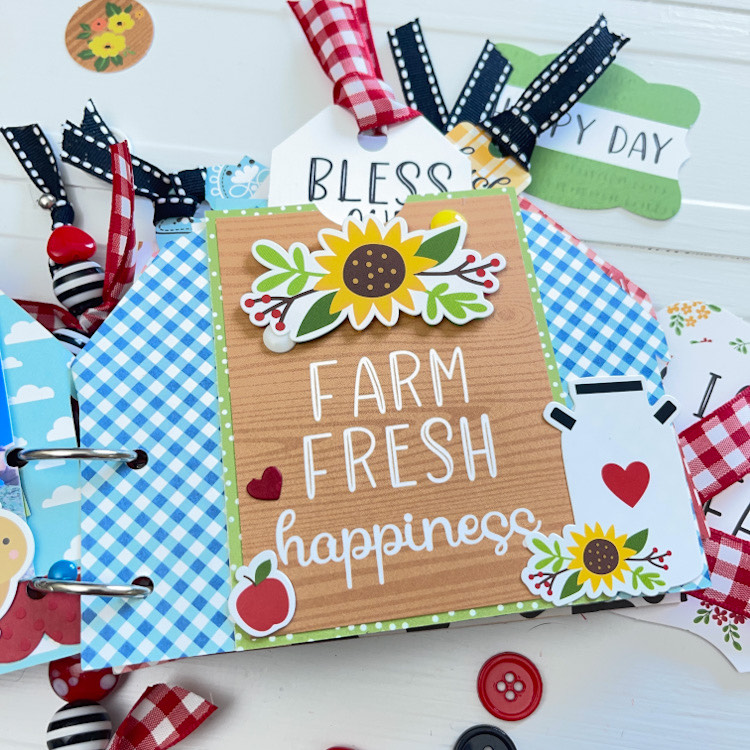
Hi everyone!  I’m so excited to share this little mini album created from Lori’s Pop Up Barn Card (SVG, Silhouette). I had so much fun creating this and added so many fun details!  I used Lori’s Echo Park Fun on the Farm collection for my project!

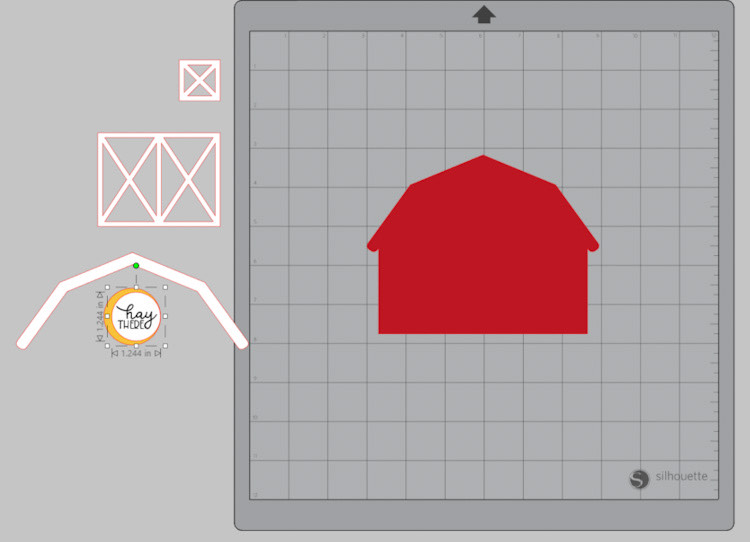
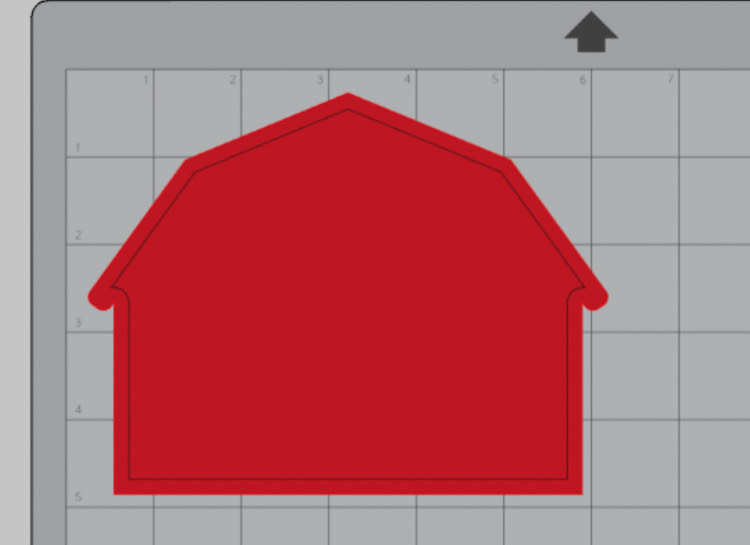
I started by opening the file and ungrouping it, saving the barn shape, the white doors and window.  I enlarged the card to be 4.5 x 6 inches.  You will need to cut 4 red barn pieces and two sets of the white doors and window.  One is your front cover, one is the inside of the front cover, one the back cover and the other will be for your stitching template and book ring template!

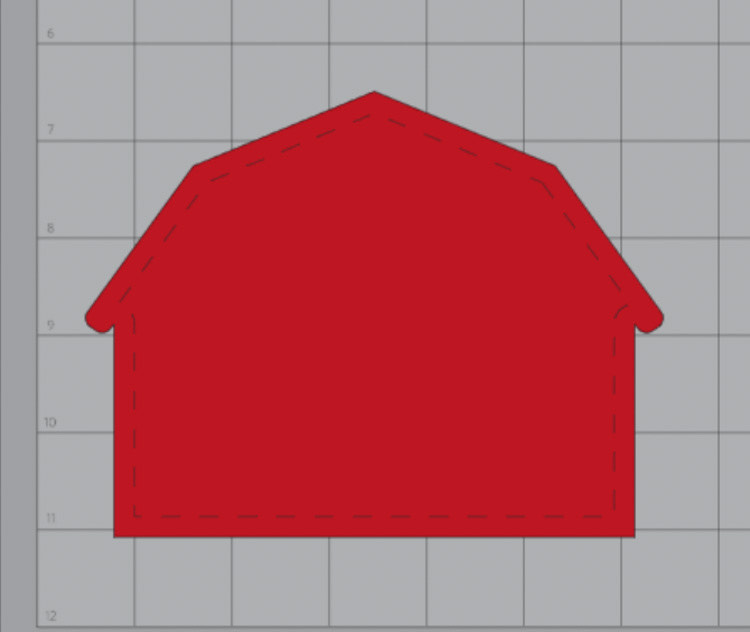
On of your template barn shape, you will do an internal offset and then go to line style, change it to the biggest stitched line.

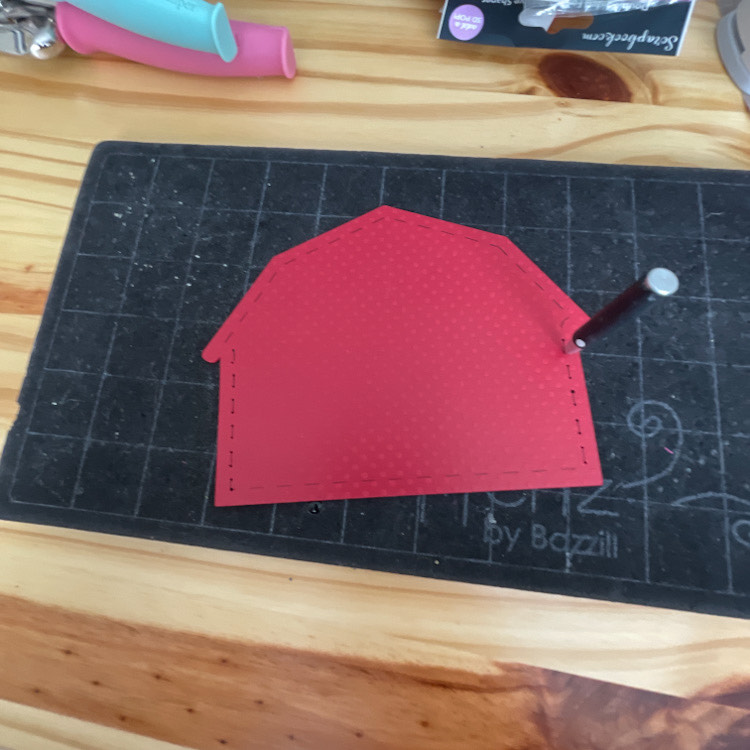
Then using a Silhouette Sketch pen, I used black so that I could see it well, send it back through to draw the stitched lines.  This will create your template for stitching.  You can use the stipple on your machine too to create stitching holes but my cardstock was to heavy to really see the stippled holes….my eyes are getting old! Lol.  So this is what worked best for me.

I just pierced the lines on the sides of the barn so that I could add a bit of chain stitching to accent the cover. Place the barn piece with the stitched lines over another barn shape and pierce your holes.   I recently attended an event with the amazing and beautiful Paige Taylor Evans and she taught us to chain stitch.  I am head over heels in love with the stitch and technique.  I added the chain stitching to the little “Welcome to the Farm” tag too.  I just pierced the holes evenly around the circle!

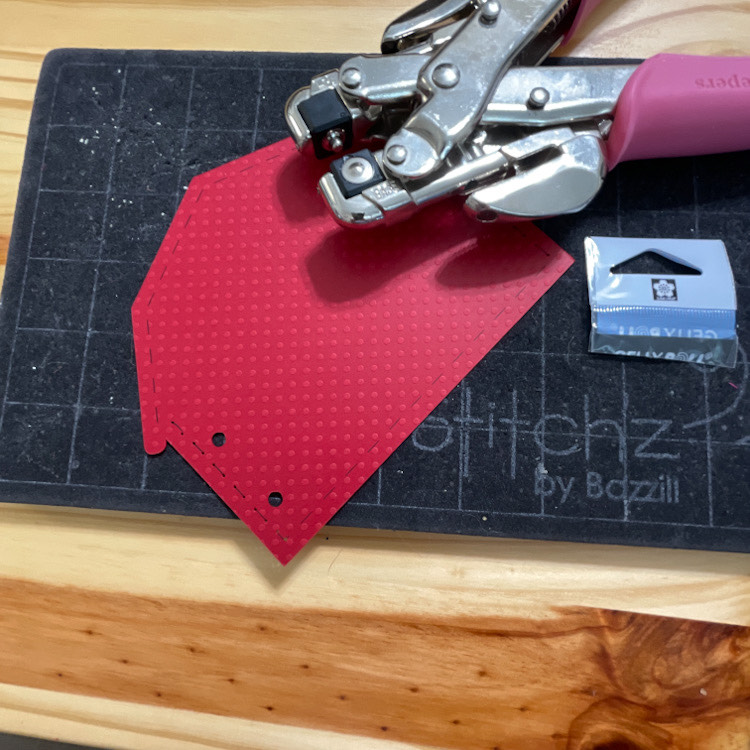
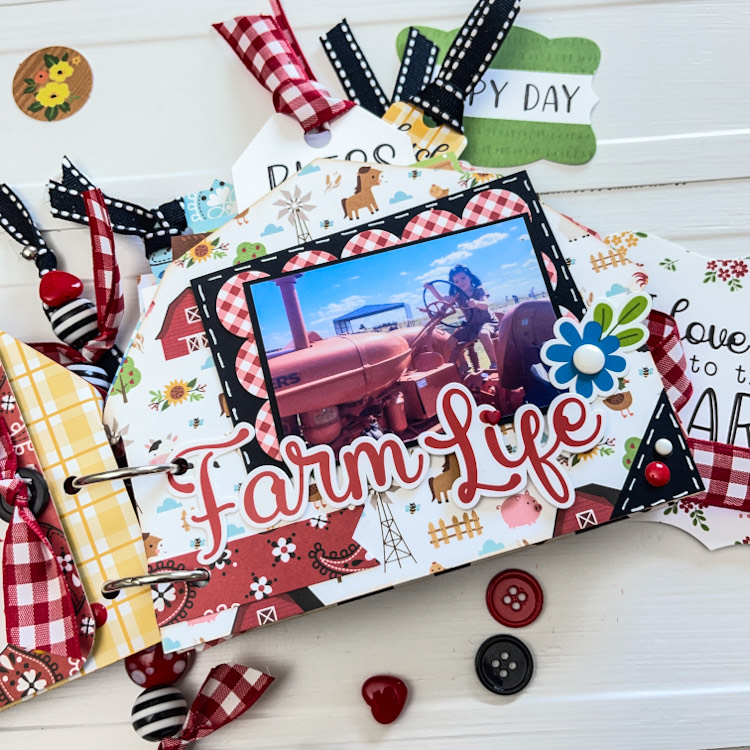
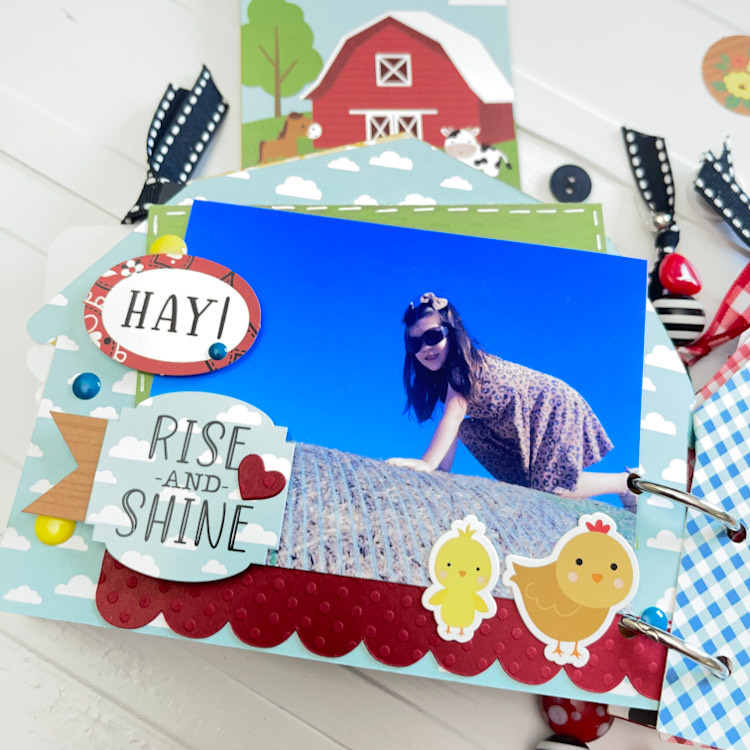
After I was done stitching, I adhered one of the barn pieces to the back for the front cover, so it has a nice finished look to the inside, and that way you can’t see the back of the stitching.   Next, it was time to punch my book ring holes.  Again, place the barn piece with the silhouette sketch pen lines over all your pages, one by one, and punch your holes.  I punched in 1/2 inch for my two book rings. I have seven pages in my book, but you can make more or less.  I just had that many photos of my grand daughter’s visit to a farm.

I love how this turned out.  Eeeeeek!  It’s so cute and the Fun on the Farm collection is just adorable and so much fun!

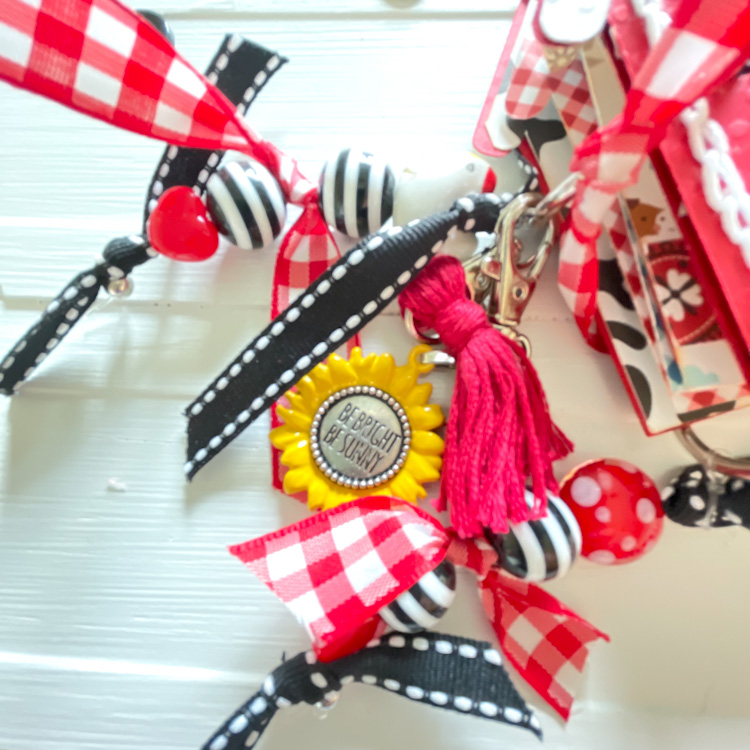
I added lots of fun with ribbon, beads, a fun tassel, sunflower charm and even a cute little chicken bead up on top there!

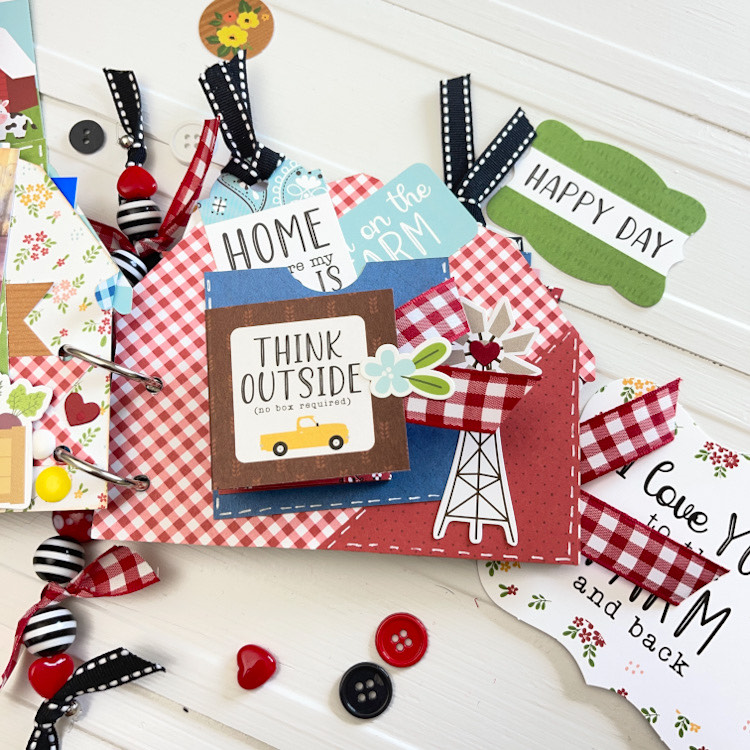
I’ll just share a few of my pages here and I’ll share the rest on my blog.


Thanks for stopping by! ~Cathy
When Life Gives You Lemons…

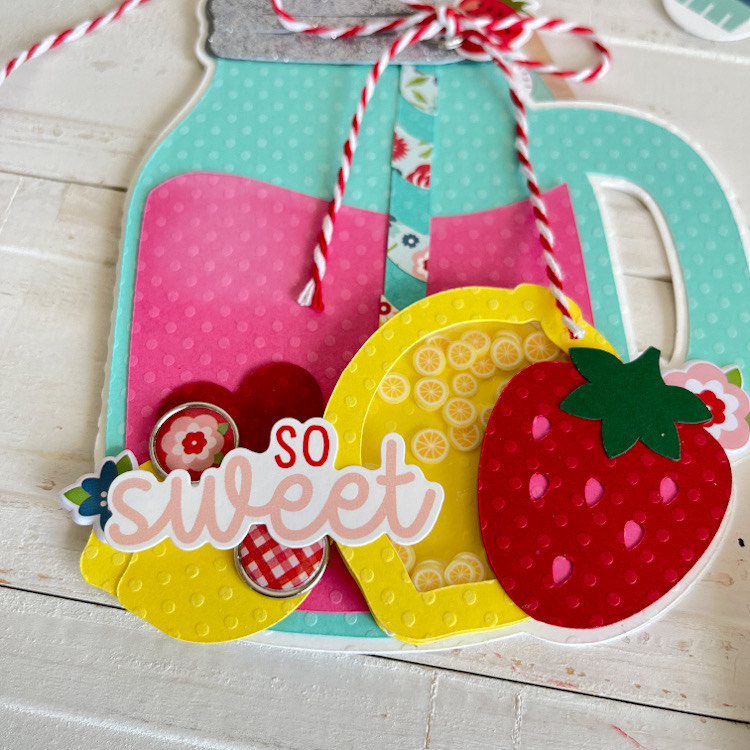
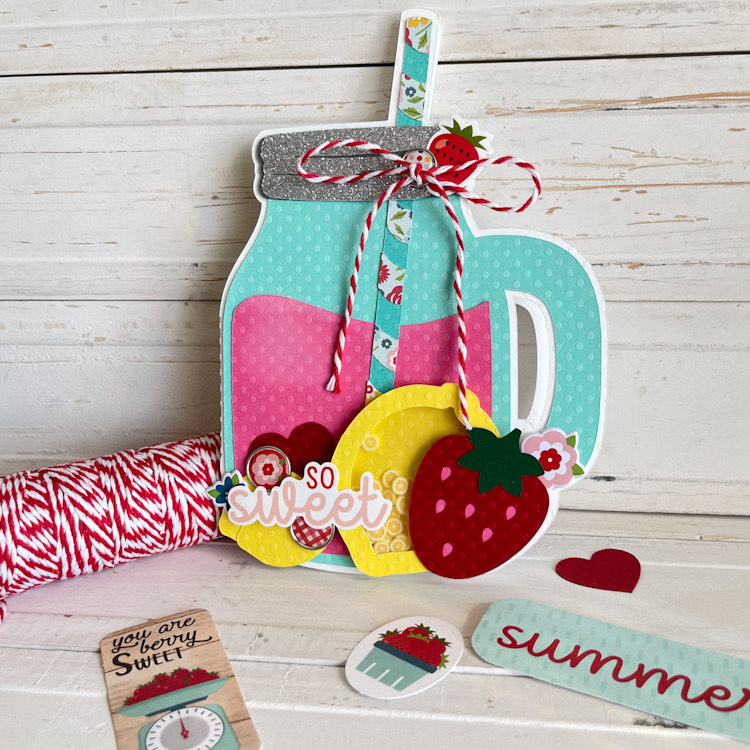
Make a strawberry lemonade shaped card!  As many of you know, Lori’s shaped card are my favorite….and she just released a new   Summer Card Bundle.  They are all so super cute!  I can’t wait to make more and send out to friends over the summer months.  Today I chose the 5×7 Strawberry Lemonade (SVG, Silhouette).  I just love the Lori’s Mason Jar designs, so this one just jumped out at me.  I added the fun lemon which I turned into a shaker.  I just couldn’t resist those little lemon bits.

I added some fun embellishments from Lori’s A Slice of Summer collection.  It’s just so perfect, I have made lots and lots of cards with this collection.  It just keeps drawing me back to it with all of the summery, bright colors and cute embellishments.  It’s one of my all time favorites.

So if life hands you lemons this week…create a summer themed card for someone special! I hope you all have a wonderful 4th of July!

~Cathy
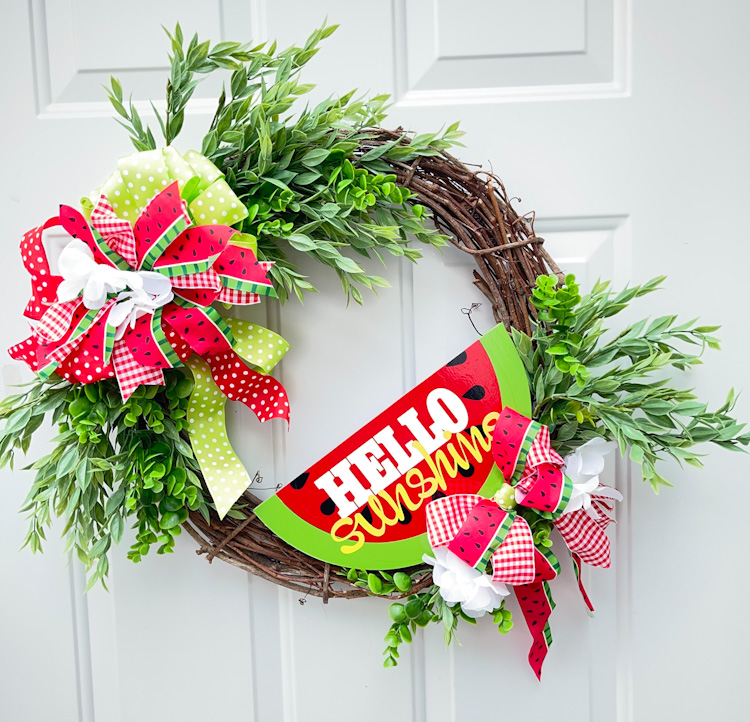
Hello Sunshine!

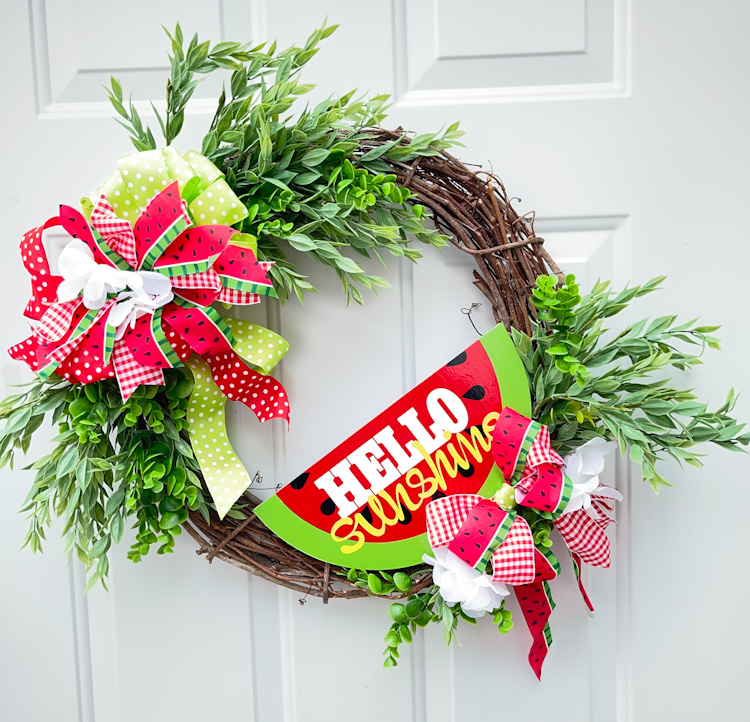
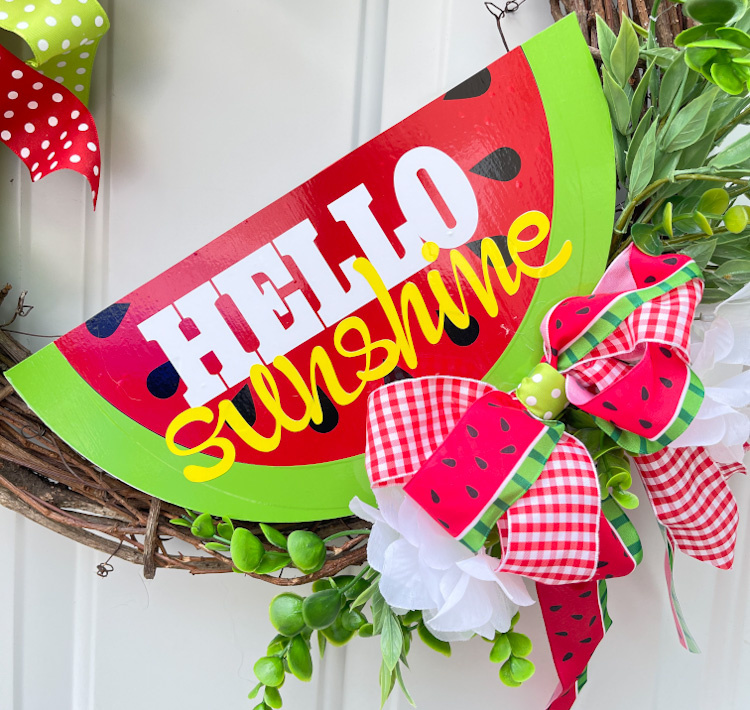
Hello Sunshine!  I’m so glad that summer is here, time for summer decorating!  Do you ever go somewhere and see a super cute item, and then say to yourself, I don’t need to buy that, I can totally make it.  Well that happened to me a couple weeks ago, and I’m happy to say that I like what I created even more than the item I thought about buying.  I love taking Lori’s files and changing them up!  So here we go!

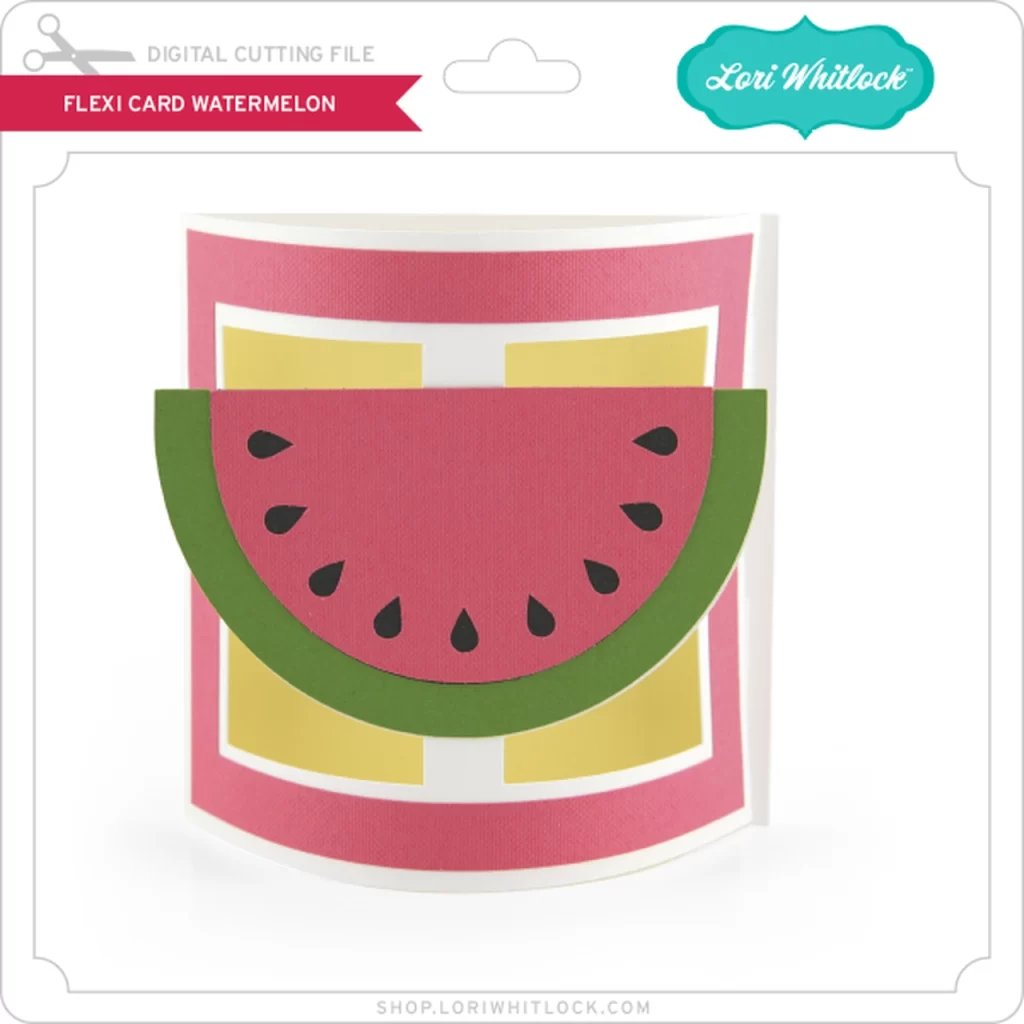
I started with this Watermelon Flexi Card that you can find here in Lori’s SVG Shop or here in the Silhouette Design Store.


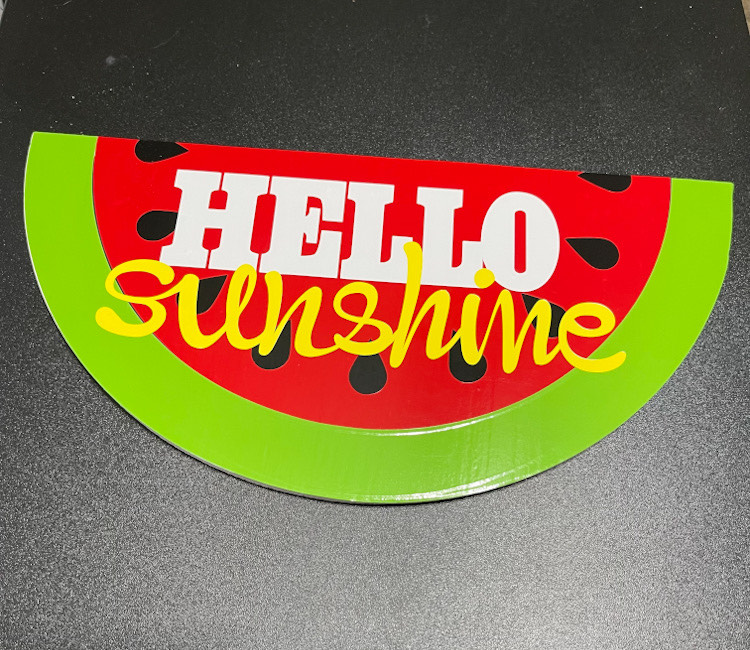
Which I tuned turned into this!

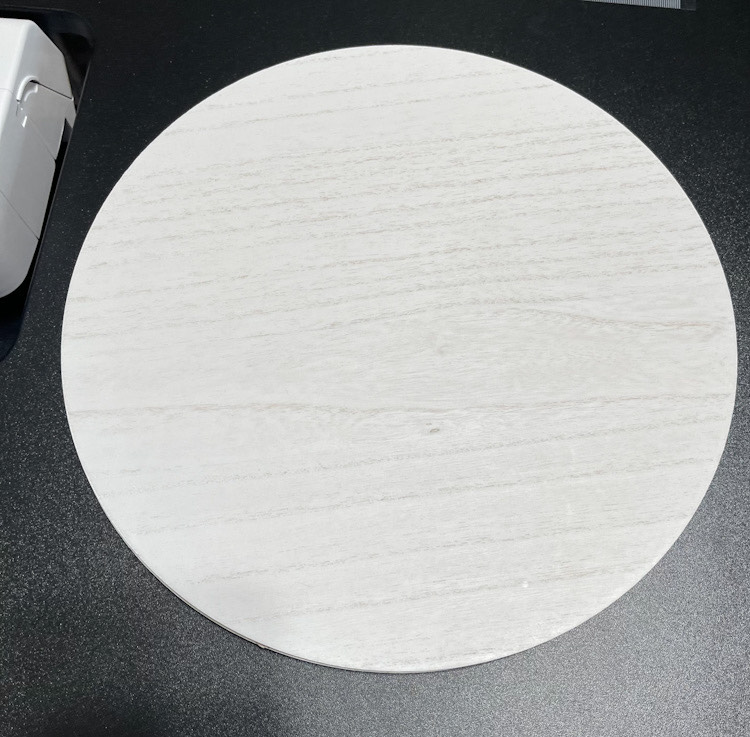
I started with an 11.75″ wood circle that I got at a craft store!

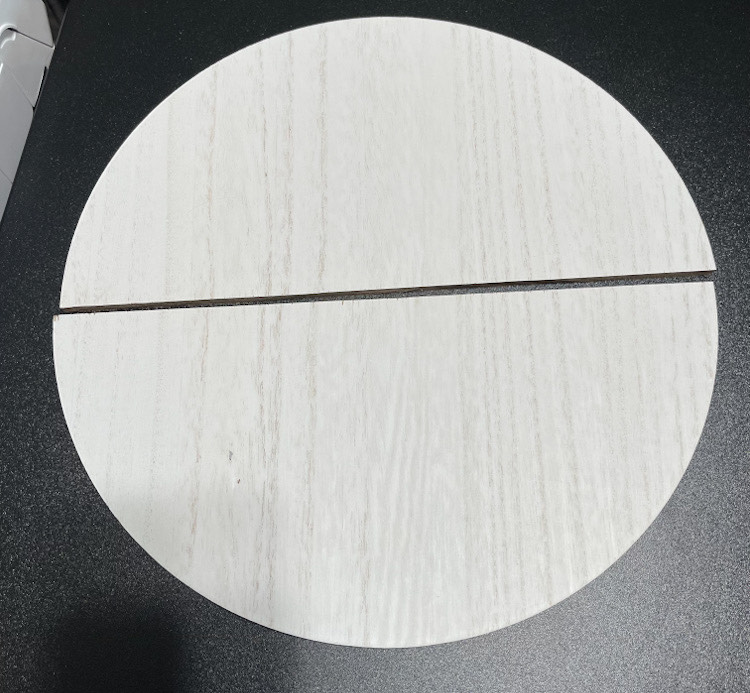
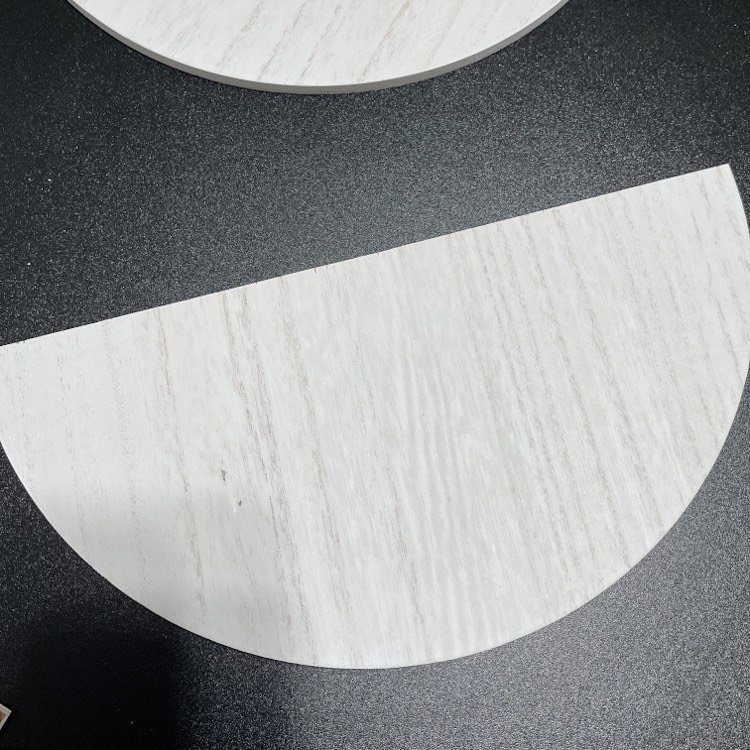
I cut the circle in half.  (Maybe I’ll make a lemon wreath with the other half!)

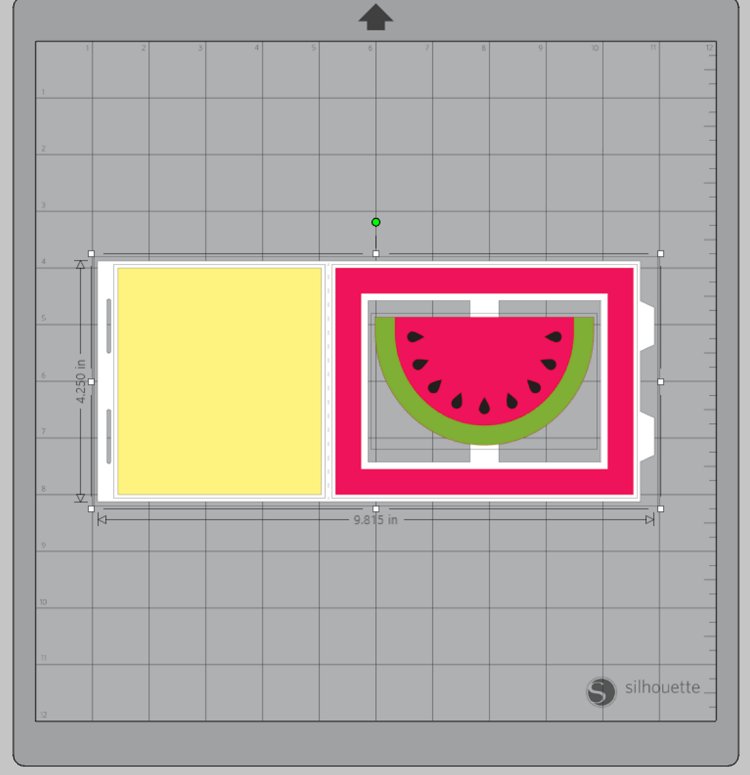
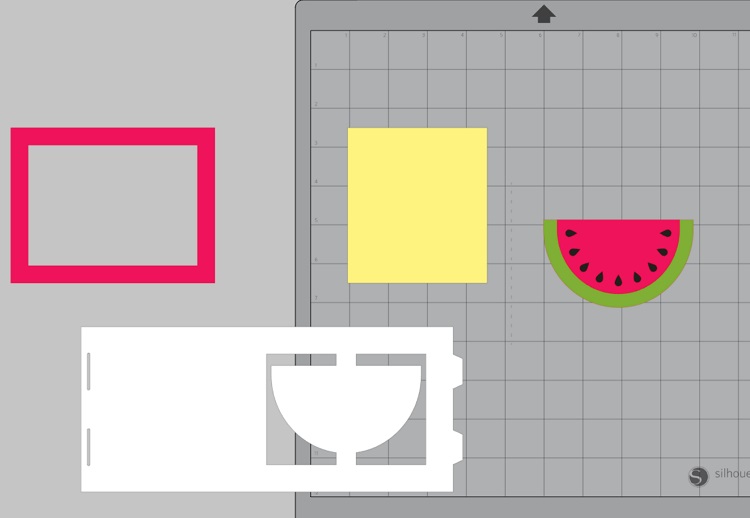
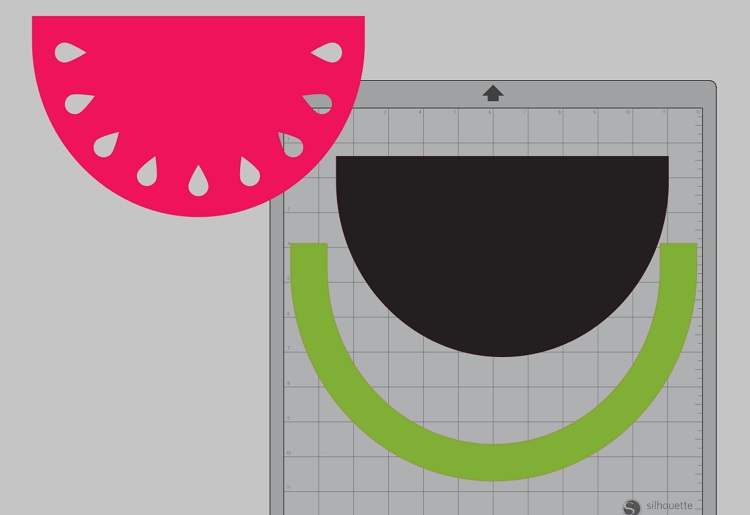
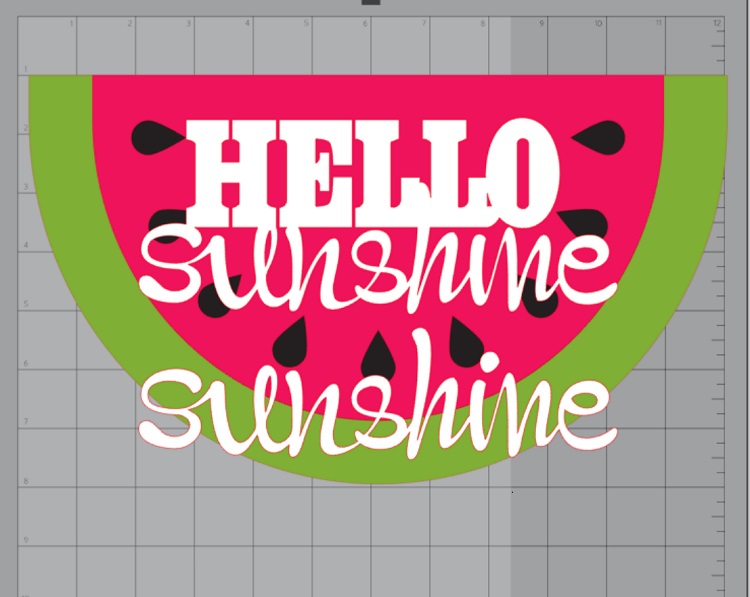
This is the card in my Silhouette.  I first ungrouped the pieces.

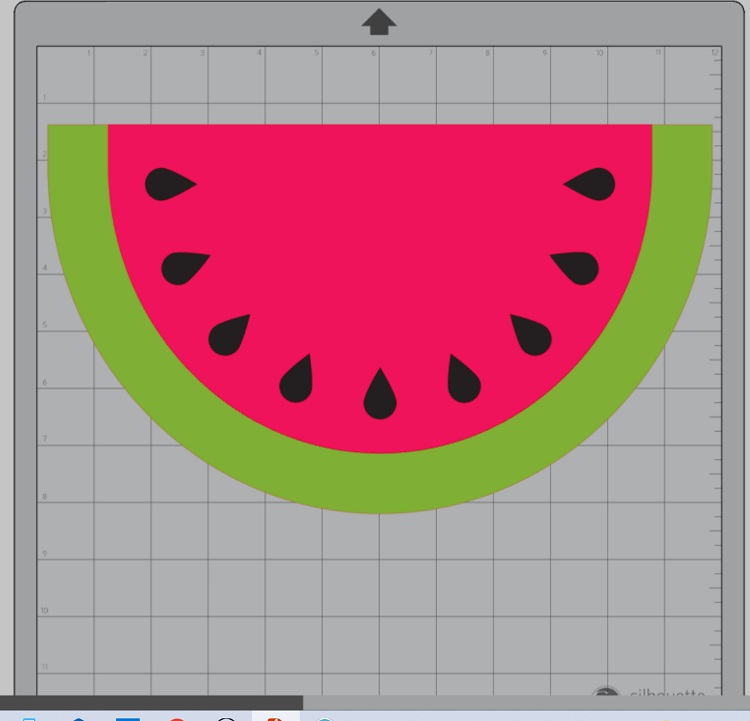
I deleted everything but the watermelon .. Then I resized it to fit the half circle.

Next, I ungrouped the watermelon pieces and chose my vinyl colors.  I did use an outdoor vinyl for this project as I wanted to protect if from the sun and rain.

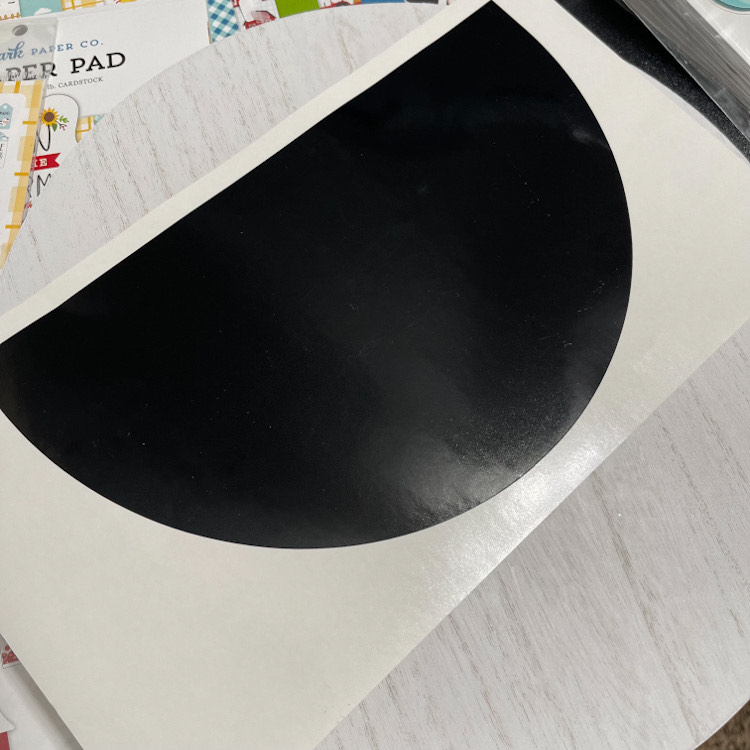
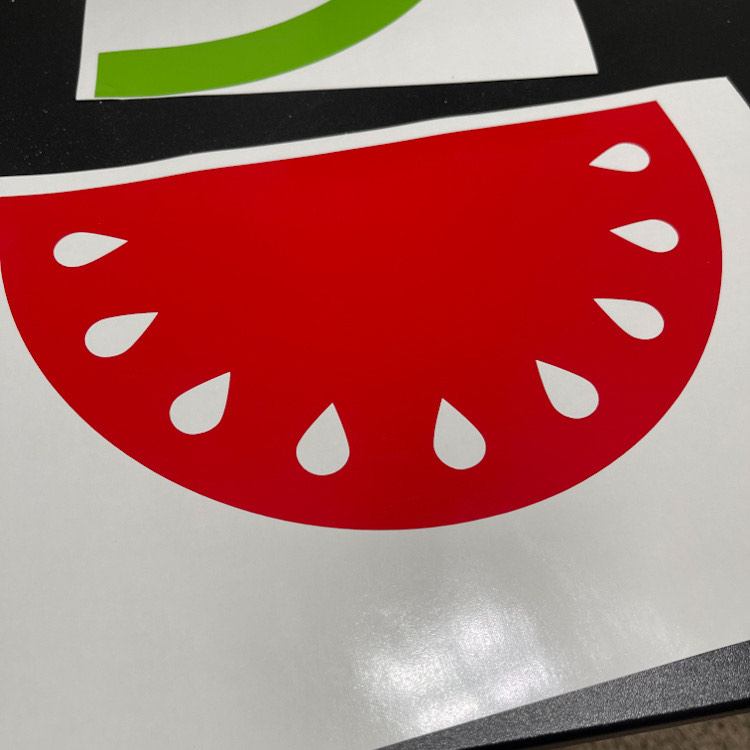
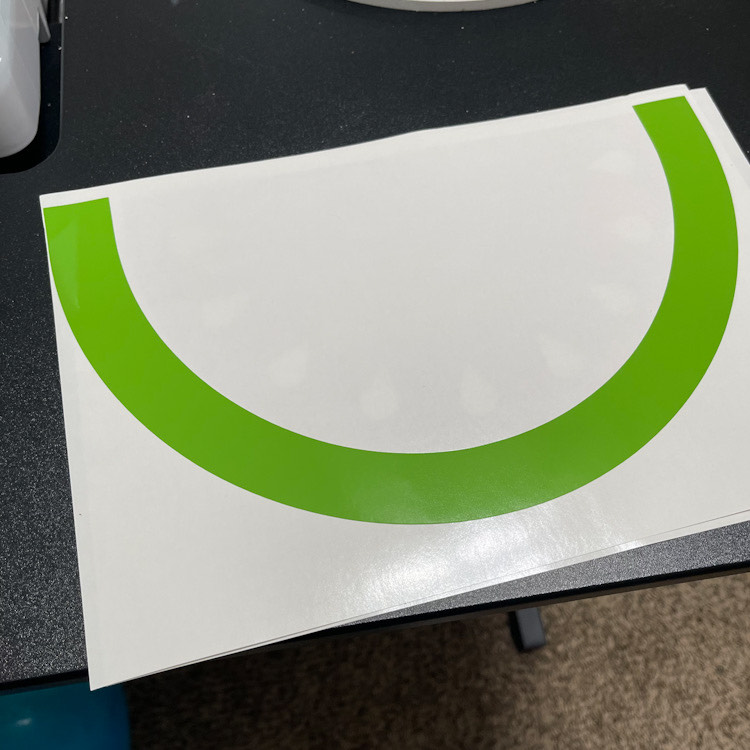
I cut the black, red and green vinyl.  These pieces are so large and basically just a giant sticker that I didn’t even need transfer paper to adhere to my half circle.  I put the black down first, then the red and next the green!

They went on with no problem, it think the outdoor vinyl is a bit sturdier and doesn’t fold over on itself or wrinkle!

Next my little slice of watermelon needed a cute saying!  I used Hello Sunshine here in the Silhouette Design Store.  I sized it to fit, cut the combined words in white and then just sunshine again in yellow!

I applied the phrase with transfer tape!

After finishing my watermelon slice, I adhered it to the grapevine wreath with hot glue and then just start adding greenery and ribbon!

I’m pretty smitten with how this turned out!  You can create almost anything with Lori’s SVG Files!

Have a great day!

Cathy