

Hi everyone, Cathy here with you today to share a printable heat transfer material tutorial with you! I chose some super cute Lori Whitlock files to create an adorable little dress for my grand baby. First wash your material and dry. Then measure your your material and decide how big you want your design to be! My design is about 6 inches wide by 4 inches. Open up your Silhouette Studio and change your design size to 8 1/2 x 11 and add your design!

Here you can see the basic of the Owl Branch file.
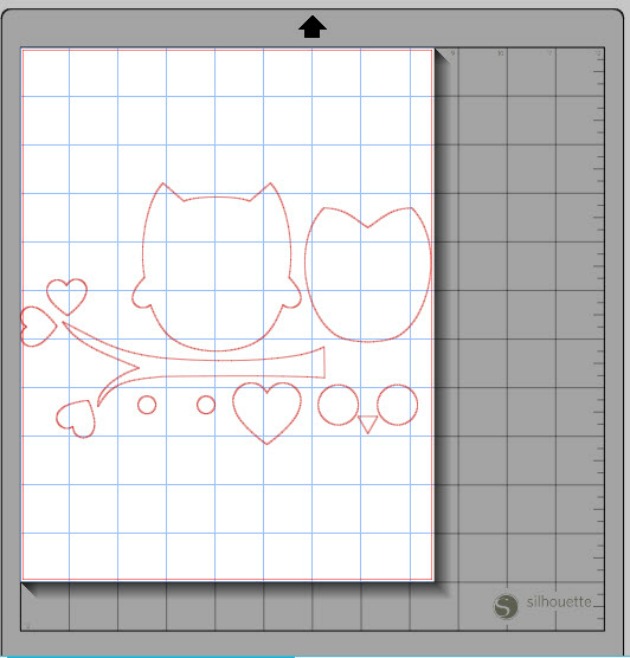
Next change all of your line colors and fill colors.

Next I pulled the design together, just layer all the pieces together. I also added some of Lori’s flowers and duplicated one of the hearts, making it bigger. These added more color and interest to the bottom of her dress.

After you have your design all set to go, add your registration marks and send through your printer. As per the directions on the Printable Heat Transfer Material for dark colored fabrics, do not mirror the image, (you do mirror the image of the transfer material for light colored fabrics).
Once your design is printed, you are ready to load your design into the Silhouette. Make sure to add cut lines just to the edges of your design. Turn off all the other cut lines, you just want the outside edge. My blade was set on 4 and my speed was set on 4 also. Next peel the printed image off the backing and place it printed side up on your project. Cover your image with a dish towel and with an iron set on cotton setting, press down on the image for 15 to 20 seconds.

I sewed on a couple of buttons for just a bit more fun! She looks adorable in her Lori Whitlock designed dress!

Thanks for joining us today! I hope you enjoyed this tutorial!
~Cathy
click on the file pictures below to go to the designs on the Silhouette Store.


What heat transfer material did you use? Love the idea.
So sweet. Thanks for the tutorial.
Elizabeth…I used Silhouette Printable Heat Transfer Material for Dark Fabrics. http://www.silhouetteamerica.com/shop/heat-transfer/HEAT-PRINT-DK-3T
Elizabeth, I used Silhouette’s Printable Heat Transfer Material for Dark Fabrics.
Really Sweet! Love this and how cute she looks wearing it! 🙂
Really precious!!
Have a wonderful day,
Migdalia
Crafting With Creative M
Super cute! Can I ask the printer you used?
Thanks!
Raquel, i just used my Epson EP 610. Nothing special about it!