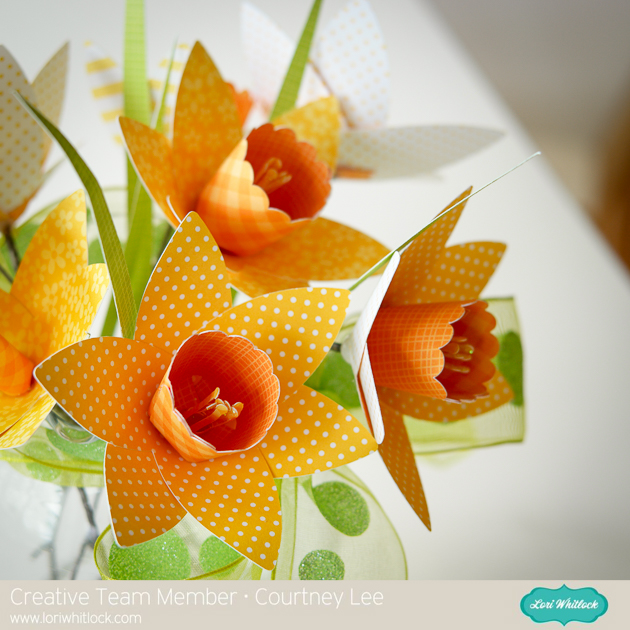
Hi everyone! Courtney Lee from Court’s Crafts with a daffodil tutorial! Don’t you just love it when you see daffodil’s pop up all over?! I made this little bouquet with my tiny humans for my mom for Mother’s Day. She’ll just love it.
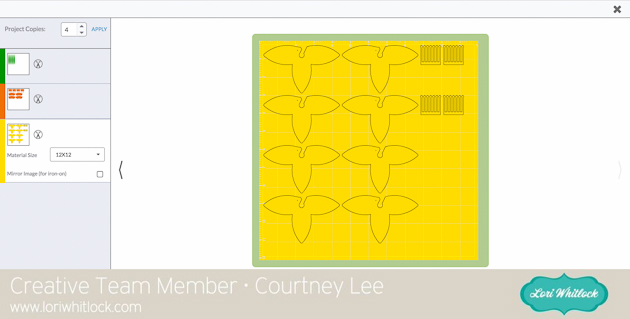
After importing I colored the parts of the flower as I desired to match a real daffodil.

Next I hit “GO” and then changed the project copies to “4”. As there are double the amount of orange inserts (they make two different sized centers for the daffodil) I had double. Then I just cut the yellow layer twice out of two different patterned papers to get everything I needed for 8 flowers.

Here they are all cut out.

I put Glossy Accents on the ends of the stamen so that I could pour glitter on them for the “pollen”.

Now you get to overlap the flowers. I used a hot glue gun to make this go really quickly. There is a little dot that is cut on the flower and it shows you how to overlap the edges and by doing so the flower “cups” itself.

Here two of them are done. This will make one flower.

Overlap the two cups and glue together trying to align a hole in the middle for the cup of the daffodil.

Roll the cup around a small pen or pencil and then let it go. There is no right way to do this. You can roll it up tight and make it small or overlap just one scallop and make it big. It will work either way. It is really just personal preference.

Roll the stamen as well and hot glue them both shut.

This is how what you have. Time to put it together!

For the small cup you insert the points THROUGH the flower. They are actually designed to then grip onto your stem (however you decide to do that.) I pulled them through and glued them to the underside of the flower (see next picture). If you are using the wider cup then it folds under itself and sits on top of the yellow part.

Glued to the bottom, but again you can use them to attach to the stem of your choice (floral wire or in my case sticks from the yard).

Then I simply put a lot of hot glue on the bottom of the stamen roll and stuck it down the center of the cup.

Next I took a big glob of hot glue and stuck my stick into it and attached one of the leaves.

Here is what the larger cup looks like and you can see the bottom folded in here and the stamen glued on top.

Here is my vase of daffodils! Aren’t they lovely and bright!?

This is actually going to be really hard to give away! I need to make another set for my craft room. I just love them. It can be spring all year!

Here you can really see the difference in the large and small cups. I think having the mixture is really nice though!

Ahhh. Spring.


I ABSOLUTELY LOVE this project, those daffodils are Gorgeous.