
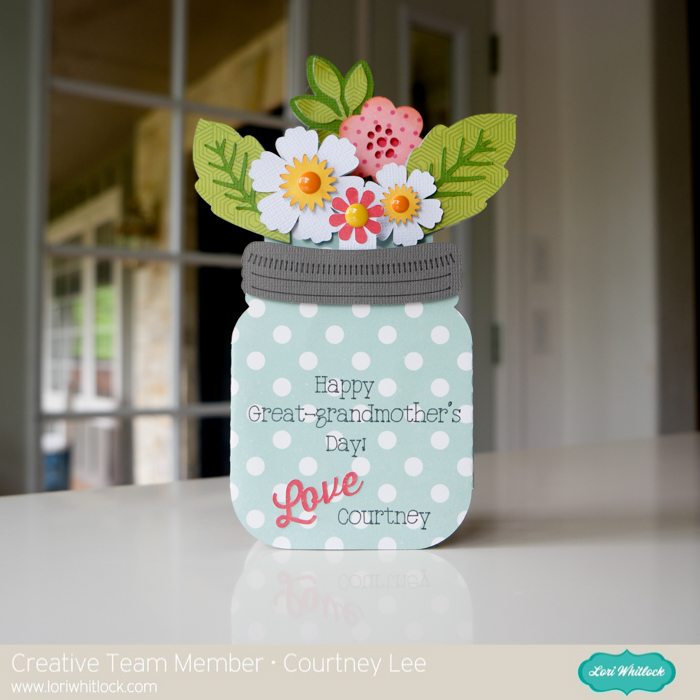
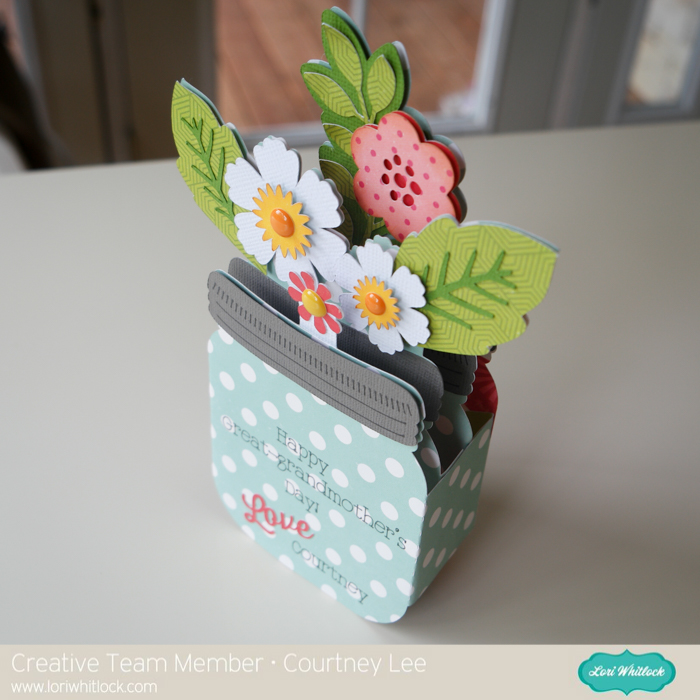
Hello!!! This is Courtney Lee from Court’s Crafts here with the new (and adorable) mason jar box card. I wanted to show you how to personalize it and make it your own using the cut and write feature of your Cricut Explore Air.
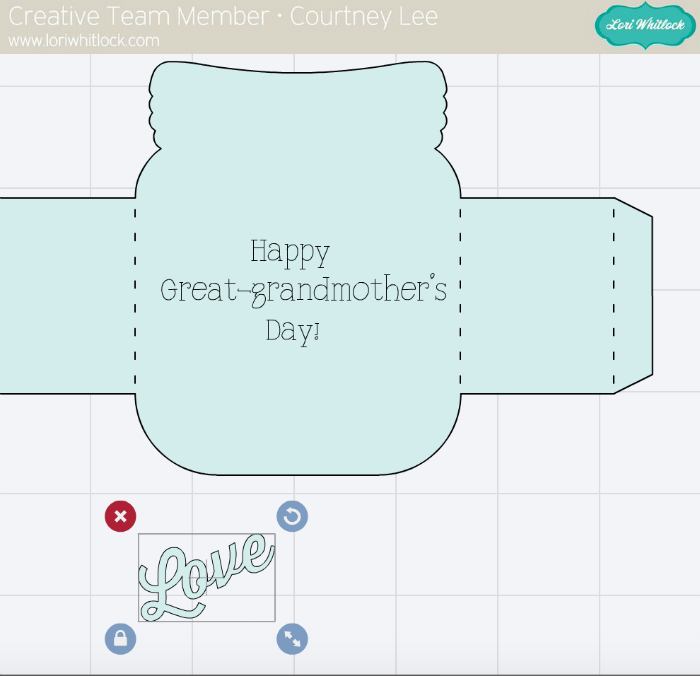
Change the marks on the jar lids to “write”.

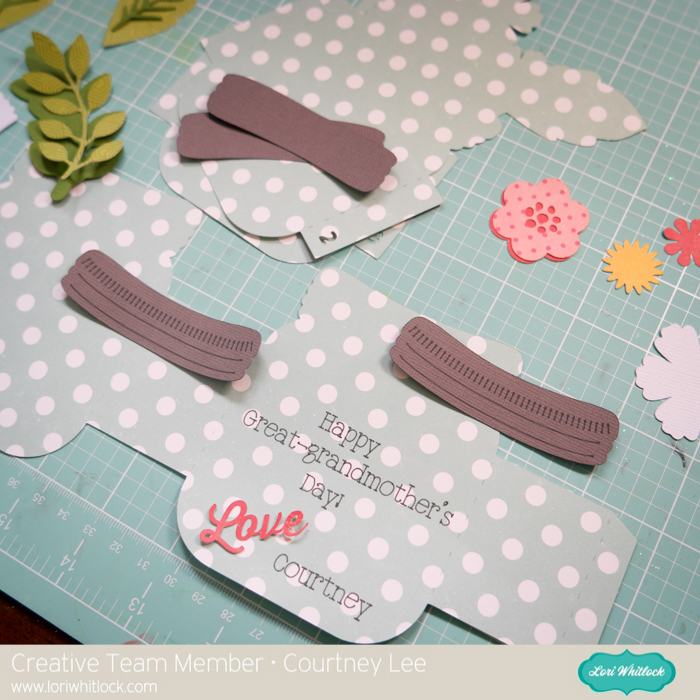
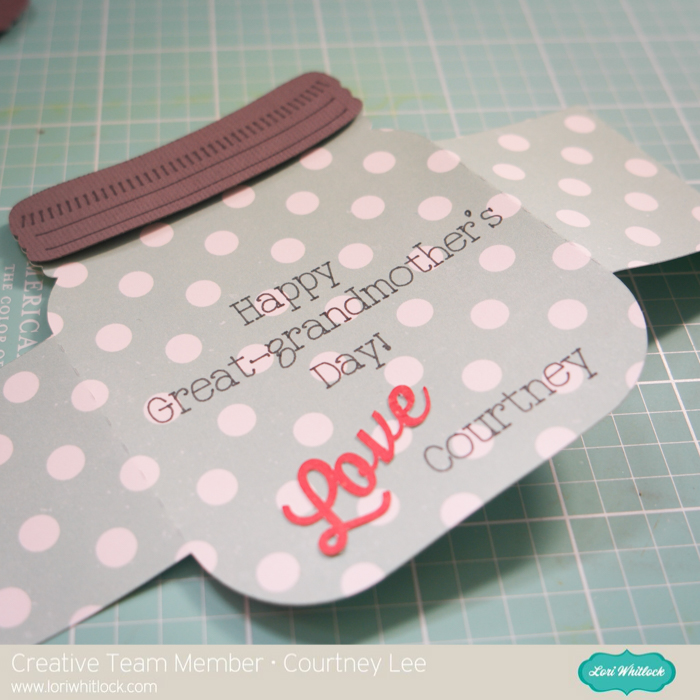
Personalize by adding text.

I’m never one to throw away a die cut so… shrink the “love” to fit on the bottom.
Personalize further by adding your name. (This is going to be CUTE!!!)
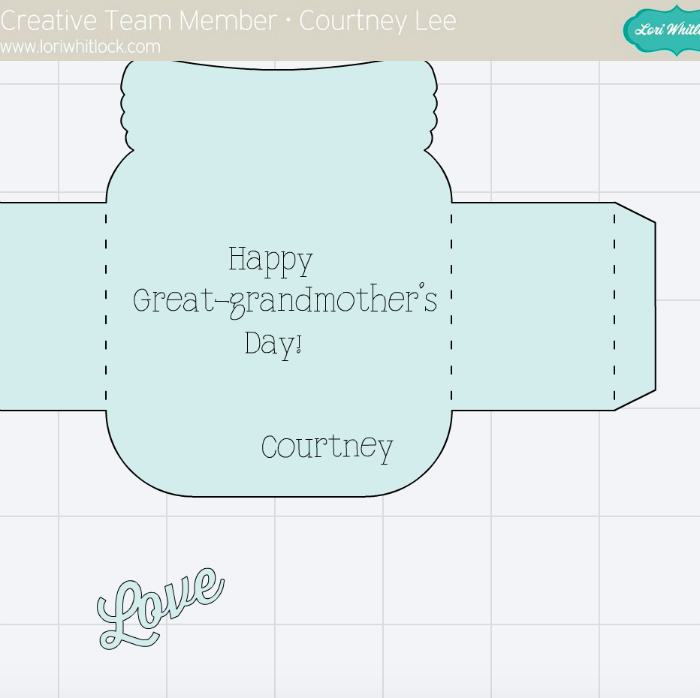
See that “attach” button top right? Attach all layers together by holding down “shift” and clicking all the pieces. This will make it so the cut and write feature happens at the same time. Do the same thing with all of the other pieces just to make sure the scoring marks are attached to the correct pieces, etc.

Cut out and check it out!!!! The Cricut Explore is AMAZING with the write and cut feature (with the dual tool holder!! I did it at the SAME time!!! ugh. love..)
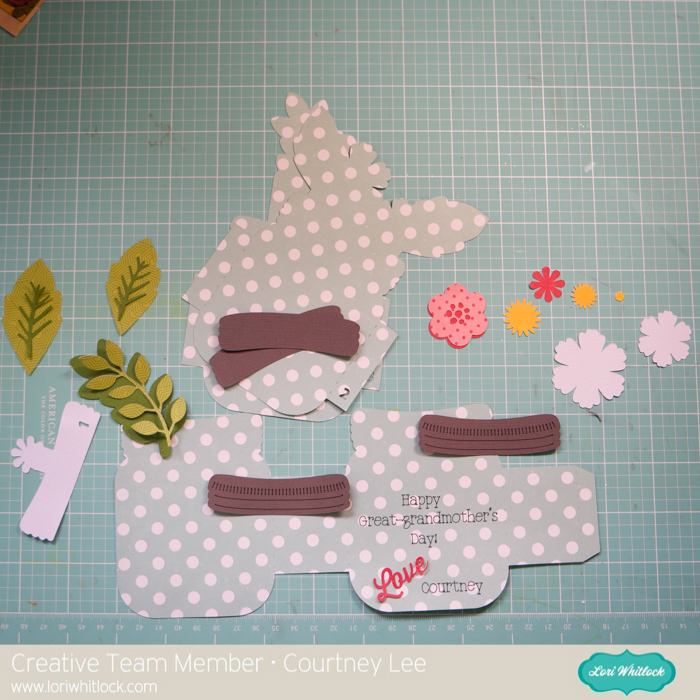
Check out how awesome the Cricut Explore Air did at the “cut and write” feature!!!
I adhered the “love” to the card and popped the jar top to the first layer.
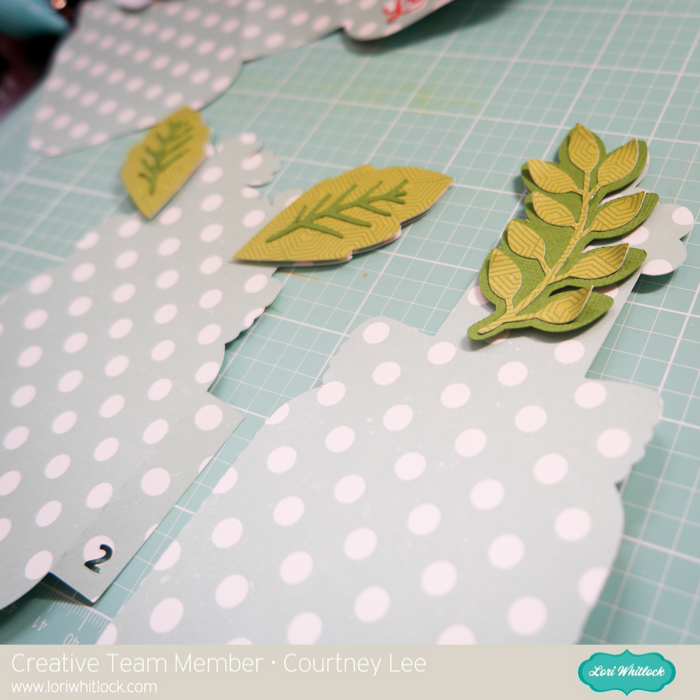
Then I glued the stems to the leaves and curled the ends up on one layer. I adhered those with pop dots too.
Use the enamel dots to add dimension. Paste layer one directly to the inside front of the card.
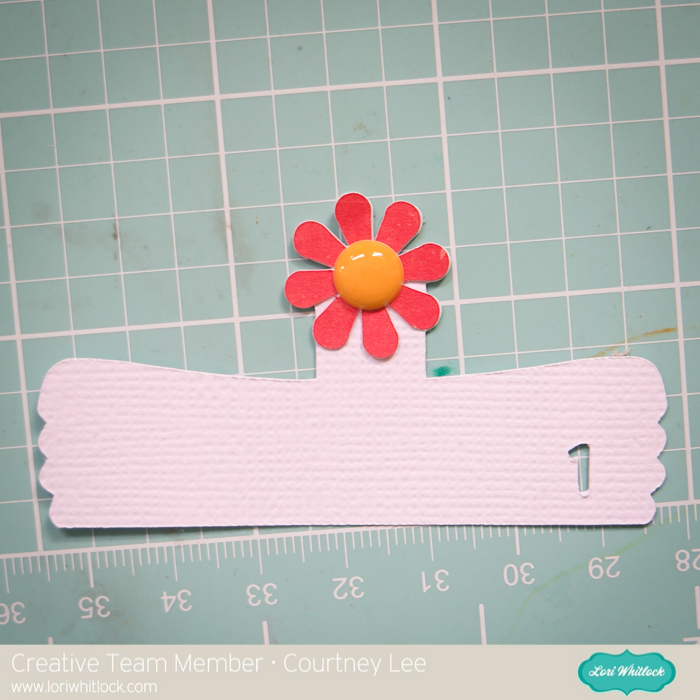
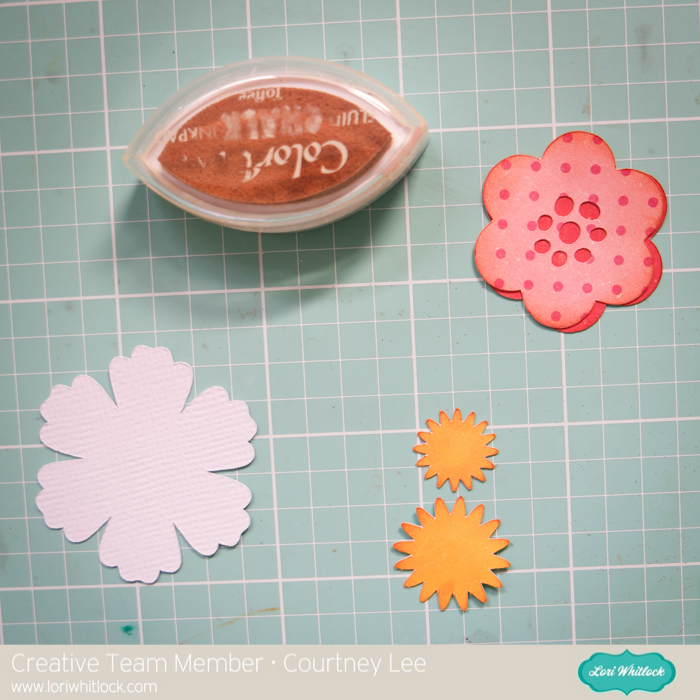
Ink the edges of the pink flower and the yellow flower centers.
Layer 2

Card complete!


I hope you enjoyed my tutorial today!!! It’s so much fun to use the Cricut Sketch pens on cards in neat and creative ways!
Recipe:
Lori Whitlock’s Shop: Box Card Mason Jar Bouquet
Silhouette Shop: Box Card Mason Jar Bouquet
Lori Whitlock’s Happy Summer collection for Echo Park Paper
Lori Whitlock’s Happy Summer Enamel Dots
Glitter is my Favorite Color with Karin

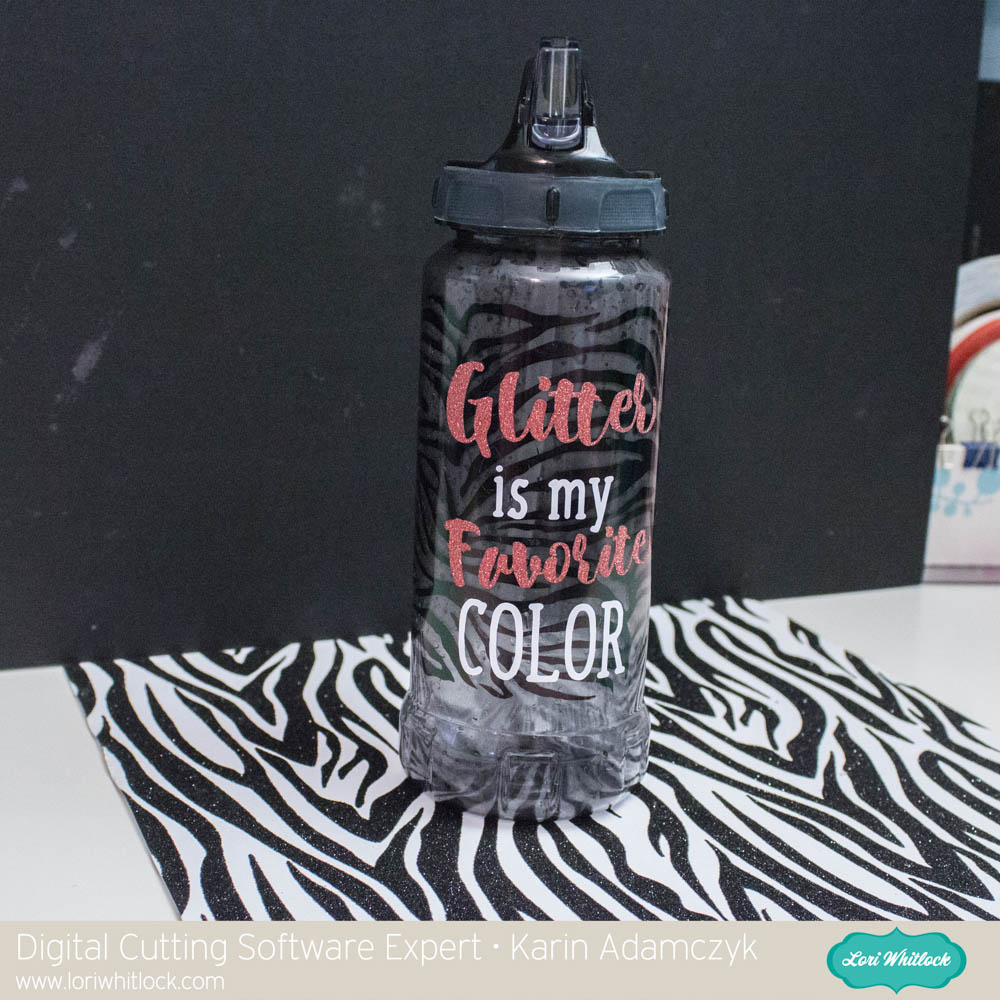
Hi everyone! Don’t you just hate when work gets in the way of having fun? That’s what it has been for me for way too many weeks now, but when I saw this design in Lori’s SVG shop, I had to use it to decorate my water bottle. You could use this design on many different things, such as a coffee mug or Yeti cup.
For this project, I used Cricut Glitter Vinyl in Crimson Red and their Premium Outdoor Glossy Vinyl in white.

I had to make sure that “Glitter” and “Favorite” cut in the exact position I had it on screen and that “is my” and “COLOR” also cut exactly where I had them placed. To do that, first I grouped all the gold letters and attached them. Then I grouped all the black letters and attached them. I changed the gold letters to red letters to remind me which words would be cut out of the Glitter Vinyl.

Once this was done, I clicked Go and above is how my mat was set up for me.

Here is how the red mat was set up for me.
After I cut both colours of vinyl, I weeded the vinyl and then used the included Strong Transfer Tape to pick up the white vinyl and place it where I needed it on the backing of the red glitter vinyl. I then picked up both the white vinyl and red glitter vinyl and placed both on my water bottle.
This project shows you that although this cutting file was designed with a baby in mind, many of the cutting files in Lori’s shop can be used for other purposes.
Thanks so much for stopping by!
Karin
One Buck Wednesday at Snap Click Supply Co.

Today at Snap Click Supply I have two items featured for $1 on Wednesday!. That means you can pick up 2 of my digital scrapbooking products at a steal. TODAY ONLY!
Stars and Stripes Papers
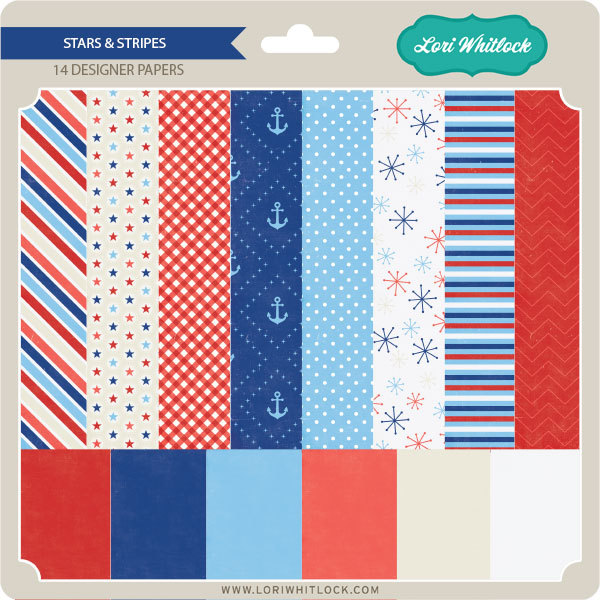
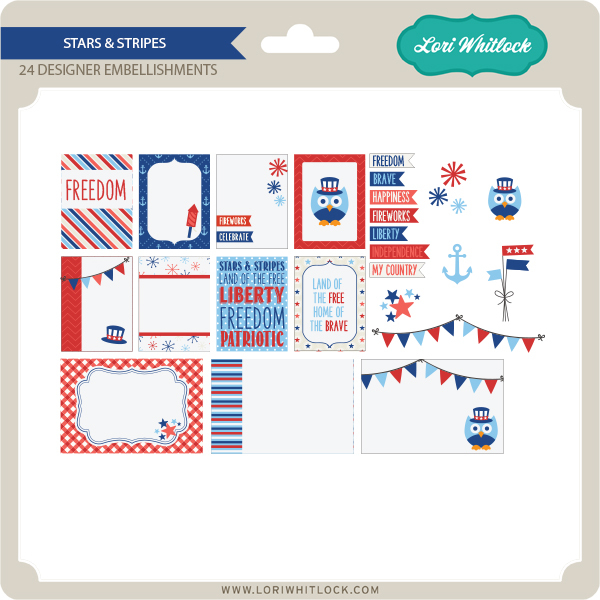
Stars and Stripes Embellishments
Be sure to go grab these great deals while you can. These offers will end at midnight!
There are specials in my SVG Shop as well! Don’t forget about the June Kit of the Month! If you spend $20 in the SVG Shop (in one transaction) you can get the Kit of the Month for free! Simply add the June Kit of the Month to your shopping cart along with ANY $20.00+ purchase from the SVG Shop and this file is yours FREE. These would be perfect to help someone celebrate their special day! Be sure to use Coupon Code: JUNKOTM (case sensitive) at checkout. This offer is good through June 30th!
(Your cart must reach at least $20.00 before the coupon will be applied and then $7.95 will be subtracted from your total at checkout. The files will be available for immediate download after you pay for your order by visiting MY ACCOUNT>COMPLETED ORDERS>ORDER DETAILS inside of your account. Only one discount code per order allowed.)
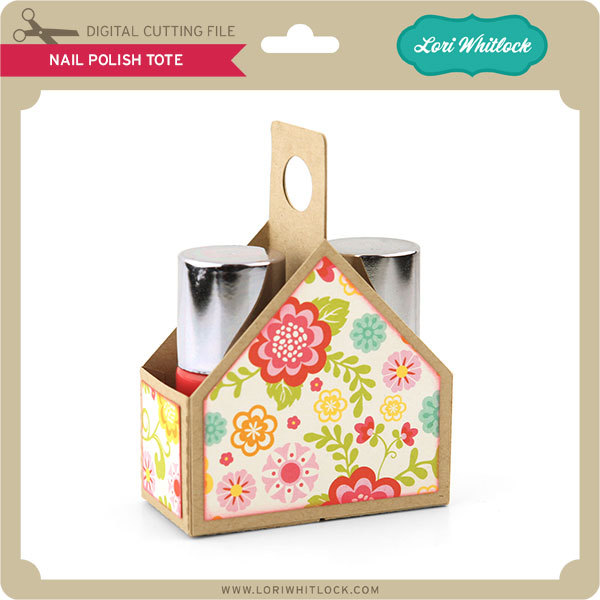
We also have this week’s free file! Simply add this Nail Polish Tote to your shopping cart along with ANY $1.99+ purchase from the SVG Shop and this file is yours FREE. Be sure to use Coupon Code: POLISH (case sensitive) at checkout. This offer is good through next Sunday.
(Your cart must reach at least $3.98 before the coupon will be applied and then $1.99 will be subtracted from your total at checkout. The files will be available for immediate download after you pay for your order by visiting MY ACCOUNT>COMPLETED ORDERS>ORDER DETAILS inside of your account. Only one discount code per order allowed.)
And don’t forget, all new files in my SVG Shop are 25% off through Sunday!
Have a great day!
Tuesday Freebie and New in Shop
ALL WEEK, this SVG file is FREE with any $1.99 purchase!
We have a FREE file with purchase all this week! Simply add this Nail Polish Tote file is to your shopping cart along with ANY $1.99+ purchase from the SVG Shop and this file is yours FREE. Be sure to use Coupon Code: POLISH (case sensitive) at checkout. This offer is good through next Sunday.
(Your cart must reach at least $3.98 before the coupon will be applied and then $1.99 will be subtracted from your total at checkout. The files will be available for immediate download after you pay for your order by visiting MY ACCOUNT>COMPLETED ORDERS>ORDER DETAILS inside of your account. Only one discount code per order allowed.)

In addition, don’t forget about this special ! You can get this Free Kit of the Month with any $20 purchase (Purchase must be in one transaction.) Simply add the June Kit of the Month to your shopping cart along with ANY $20.00+ purchase from the SVG Shop and this file is yours FREE. Who wouldn’t want to get one of these on their special day! Be sure to use Coupon Code: JUNKOTM (case sensitive) at checkout. This offer is good through June 30th!
(Your cart must reach at least $20.00 before the coupon will be applied and then $7.95 will be subtracted from your total at checkout. The files will be available for immediate download after you pay for your order by visiting MY ACCOUNT>COMPLETED ORDERS>ORDER DETAILS inside of your account. Only one discount code per order allowed.)
Check out our awesome SVG files releasing this week! And, just like always, the NEW files are ON SALE 25% OFF through the weekend in the SVG Shop! These downloads include SVG files for sure and PNG or PDF files when appropriate. No coupon code necessary, the files are all discounted in the shop! Be sure to go get them while they are on SALE this week.
Thanks for visiting the blog today! Please let us know if you need any help with your files. We want to make sure everyone is happy with their purchase. Have a great week!
Guest Designer Jennifer Beason
Hello, everyone. It’s such a pleasure to be here with you today. I am a huge fan of Lori Whitlock’s and jumped at the chance to be a guest designer when I was asked. I hope you enjoy my project as much I enjoyed creating it.
If you’ve seen my work before, this project may look a little familiar. The original was created as a gift box for my son’s teacher last year. But a good friend wanted me to create a similar piece, for a party, she is having next month. Here’s the design I came up with.
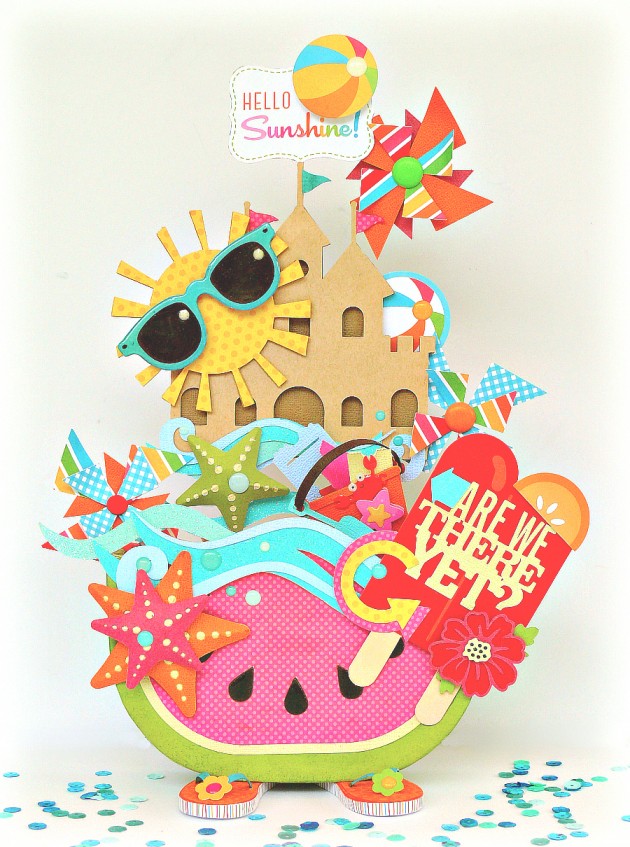
The watermelon box was made as the base and to hold everything together. I used thin chipboard to make the box first, then covered it with patterned paper. I added waves to the top of the box and some fun starfish.

The phrase “are we there yet” and a 3d flower were glued onto to a die-cut popsicle and positioned to the right of the box.
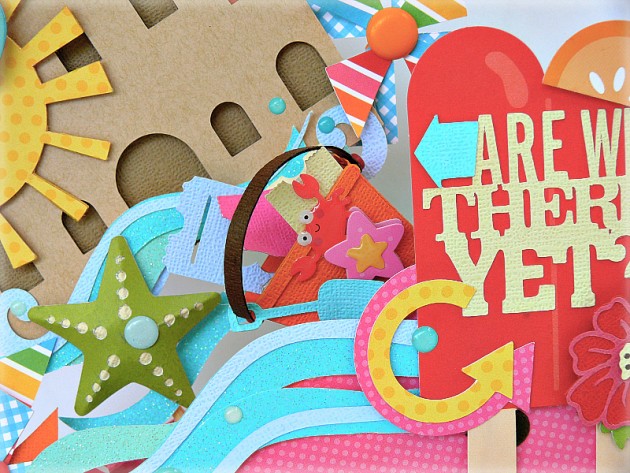
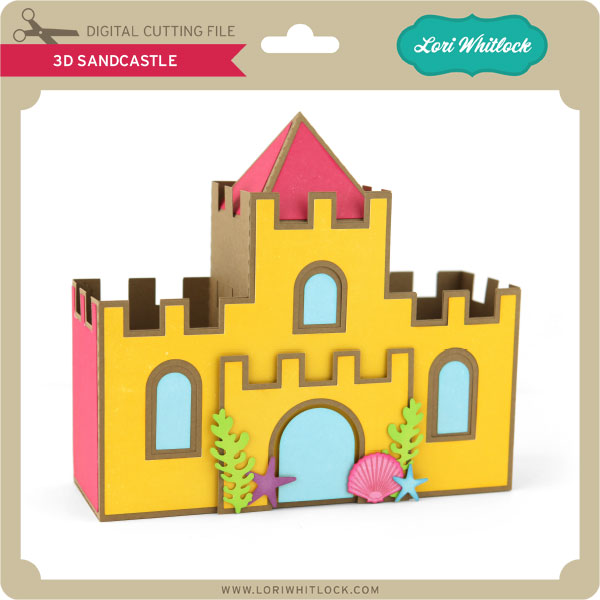
The castle was attached to some wood dowels and glued to the inside of the watermelon box. To make the sunglasses look more realistic some 3d crystal lacquer was applied.
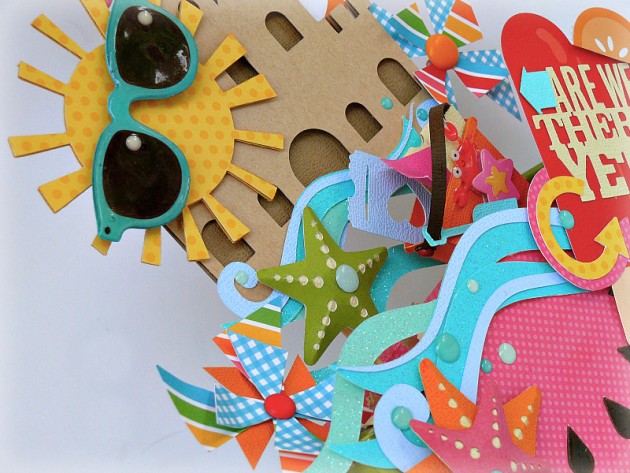
The sand pail was constructed and tickets were glued inside. The pail was then glued in place on the castle.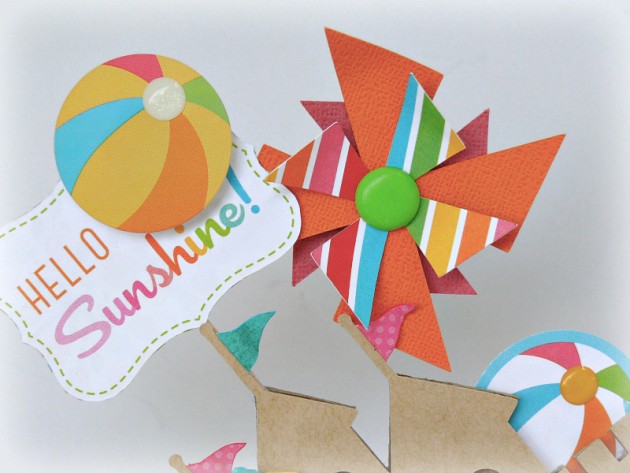
To add some pops of color pinwheels were added, as well.
Thanks so much for joining me today. Wishing you all a safe and happy Summer!
Files used:
Watermelon favor box (in Lori Whitlock SVG Shop here)
Castle (in Lori Whitlock SVG Shop here)
3d layered flower (in Lori Whitlock SVG Shop here)
Sand Pail shaped box (in Lori Whitlock SVG Shop here)
Ticket Set (in Lori Whitlock SVG Shop here)
6 tickets (in Lori Whitlock SVG Shop here)
Heart Arrow set (in Lori Whitlock SVG Shop here)
Are We There Yet? (in Lori Whitlock SVG Shop here)
Beach Set (in Lori Whitlock SVG Shop here)
Flip-flop box (in Lori Whitlock SVG Shop here)
Pinwheel
Sun
Sunglasses, waves and fish