A Crafty Embroidery Hoop Tutorial with Angi

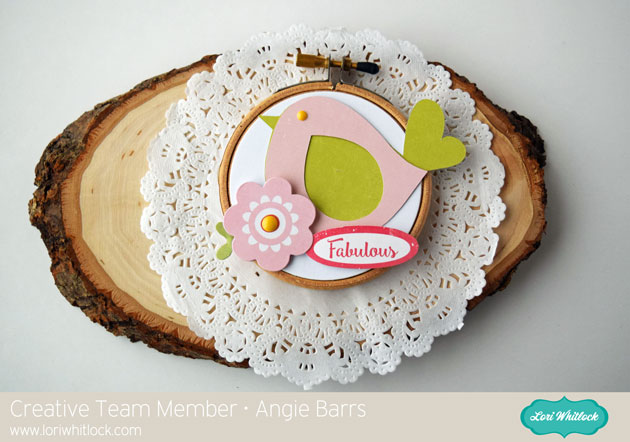
Hello crafty friends! This is Angi from Twenty Five Smiles here with a fun tutorial for you today. I want to show you how to make a unique handmade gift using Lori’s SVG files and her new paper collection called “Happy Summer” from Echo Park.   This project is so fun to make and is sure to bring a smile to someone’s face!


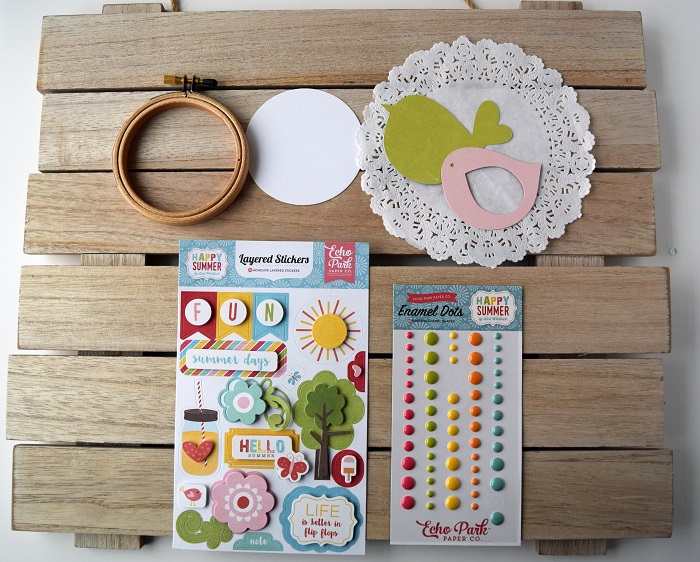
Here are the supplies you will need:

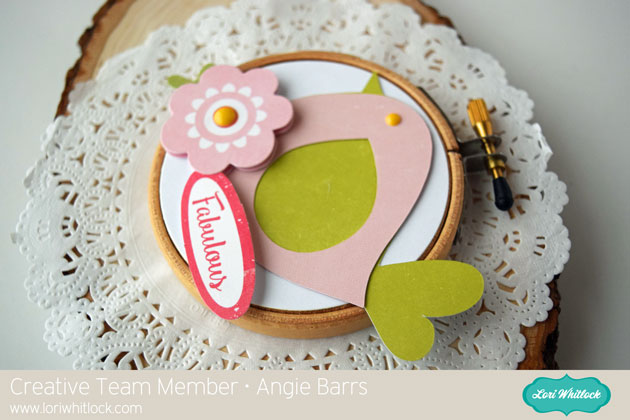
  • A mini embroidery hoop
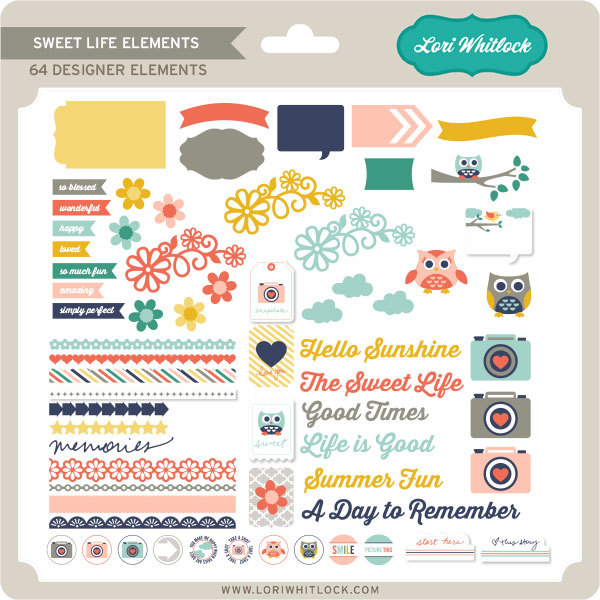
  • Lori’s cut files – 2 Layer Bird
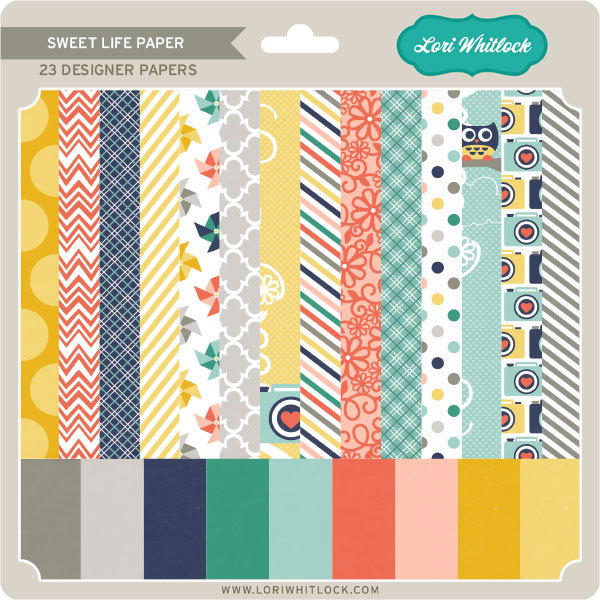
  • Happy Summer paper collection
  • Happy Summer Enamel Dots
  • Cardstock
  • Adhesive & Pop Dots


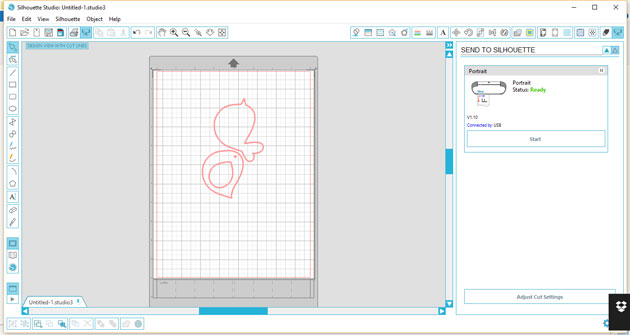
Step 1: Cut out your shapes from the cut files using your Silhouette or Cricut Explore electronic cutter. I also cut out a circle that measured the length and width of the circle shape of the embroidery hoop.

I used the 2 Layer Bird – Design #8460 in the Silhouette Design Store.


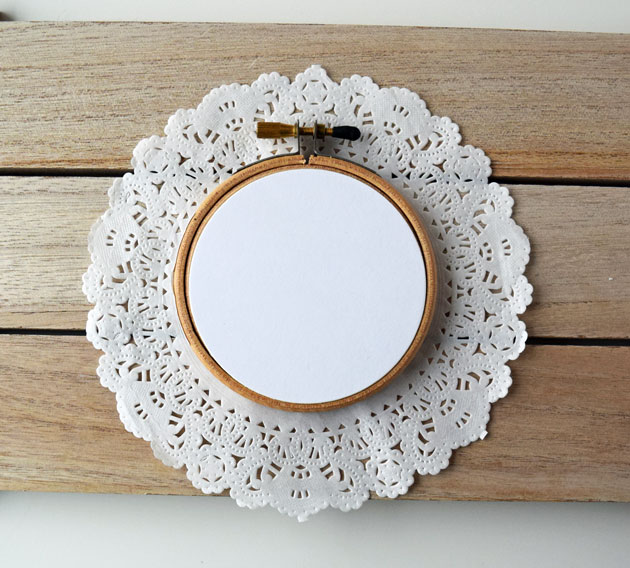
Step 2: Add small dabs of liquid adhesive to the inside of the embroidery hoop then place the circle shape so that it fits all the way around it. Allow to dry so that the paper is firmly in place.


Step 3: Decorate the front by layering on all of the pieces on top. Leave room for a sentiment/greeting and the flower.


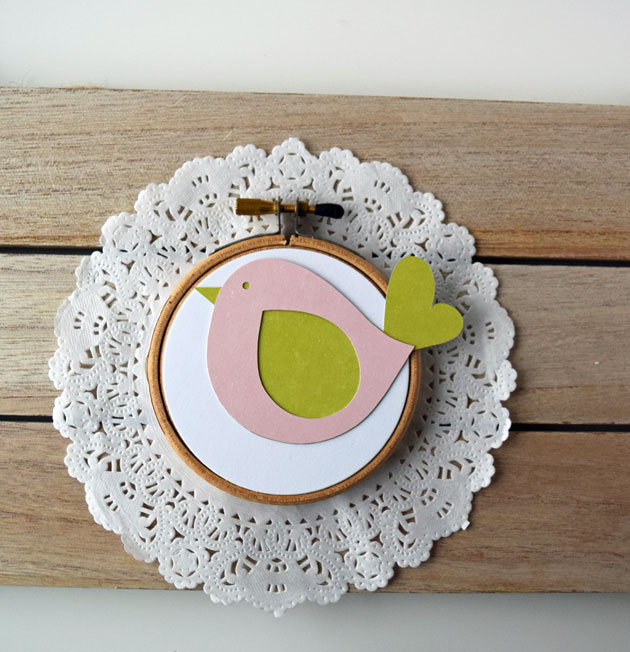
Easy peasy! You have just created a fun little gift. I love to gift these to teachers for end of the year gifts. They love them! You can easily change this up for any kind of occasion such as birthdays, baby showers, party favors, and more. Be sure to check out Lori’s SVG store for more cut files that you can use for this project!

One Buck Wednesday at Snap Click Supply

Today at Snap Click Supply I have two items featured for $1 on Wednesday!. That means you can pick up 2 of my digital scrapbooking products at a steal. TODAY ONLY!

Sweet Life Papers 

Sweet Life Elements 

Be sure to go grab these great deals while you can. These offers will end at midnight!

There are specials in my SVG Shop as well!  Don’t forget about the March Monthly Kit Offer! If you purchase $20 worth of product (in one transaction) You can get this adorable kit for free! No need to add the kit to your cart, or enter any codes. As soon as you add $20 worth of product to your cart, the free kit will automatically be added to your cart! The files will be available for immediate download after you pay for your order by visiting the “downloads” section inside of your account. This offer is good through March 31st!

And last but not least, get this file free with a $1.99 purchase. No need to add it to your cart, or enter a code. Just spend $1.99 and the Stand Up Card Flower will be added to your cart automatically!

Have a great day!

Tuesday Freebie

ALL WEEK, this SVG file is FREE with any $1.99 purchase!

We have a FREE file with purchase all this week! This beautiful Stand Up Card Flower will be automatically added to your shopping cart along with ANY $1.99+ purchase from the SVG Shop! No need to add the file to your cart, or type in any code!! This offer is good through next Sunday at midnight.

(Your cart must reach at least $1.99 before the file will be automatically added to your cart. The files will be available for immediate download after you pay for your order by visiting the “downloads” section inside of your account.)

And don’t forget, we have a special for the entire month of March! You can get this Free Kit of the Month with any $20 purchase (Purchase must be in one transaction.) No code necessary, the kit will be automatically added to your cart once $20 worth of product has been purchased.  This offer ends on March 31st, so don’t miss out!


We have no new files in the shop this week.  Thanks for visiting the blog today! Please let us know if you need any help with your files. We want to make sure everyone is happy with their purchase. Have a great week!

Curvy Container with Corri

Hi everyone!  Corri here today sharing my version of Lori’s Curvy Container.

I used some of the Echo Park Petticoats & Pinstripes Collection on mine.

I added one of Lori’s beautiful 3d Flowers to embellish this pretty container.   It’s quite large and could hold quite a bit of candy or a a gift.    When assembling the box, take your time on the curved sides.  Apply glue to 4-5 glue tabs and hold along the curved edge until dry before moving to the next set of tabs.

Be sure to check out all the new files that Lori added to the shop.  Including an awesome new set of 3d Letters!


Strawberry Carton Box Card Assembly Tutorial with Tya

Hi Lori Whitlock fans – its Tya today I am up on the blog to show you how to assemble the adorable new Strawberry Carton Box Card.


This is a little different than the box cards that Lori has previously came out with so I wanted to walk you through how to put this card together. Lets get started!

http://cdn6.bigcommerce.com/s-zlf3iiy2/products/4372/images/4711/LW_Box_Card_Strawberry_Carton__19979.1457875888.1280.1280.jpg?c=2


First off – open the file. It can be found here on the Silhouette Store or here on the Lori Whitlock site.  Here’s what it looks like after I have ungrouped the box base from the leaves and strawberries.


Next, just to make things easier – Lori has numbered the leaf layers to make sure you know how the layers go front to back on the inside of the box. I’ve numbered them even bigger so you can see better.

Here are the leaf layers ungrouped by the papers I used.


Just to note – there a little yellow circles on the cut file for the flower centers, but I used some glitter dot stickers on mine instead. 🙂

For the label I did a print and cut title using Lori’s LW Brush Font

Now that all the pieces are cut out, I assembled all the pieces. I added some brown ink to the edges of the cut outs for some added dimension.


Add adhesive to the leave layers as shown.


I then assembled the box.

I then started layering the leave sections into the center of the box. The first section is glued right to the front edge of the inside of the box.


Here is the box all assembled. It folds down nice a easy so you can send it to that special someone.

This was a really fun box to put together and now that I have shown you how easy it is to assemble, I hope I have inspired you to make a few of your own! Thanks for stopping by!