Slider Window Card – Assembly Tutorial

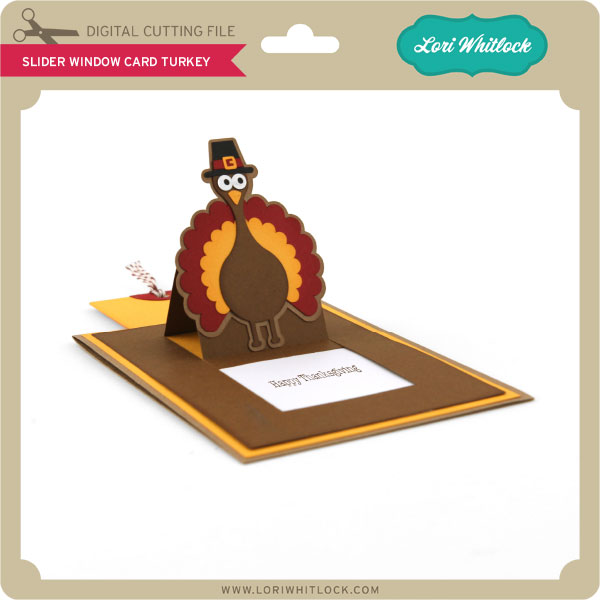
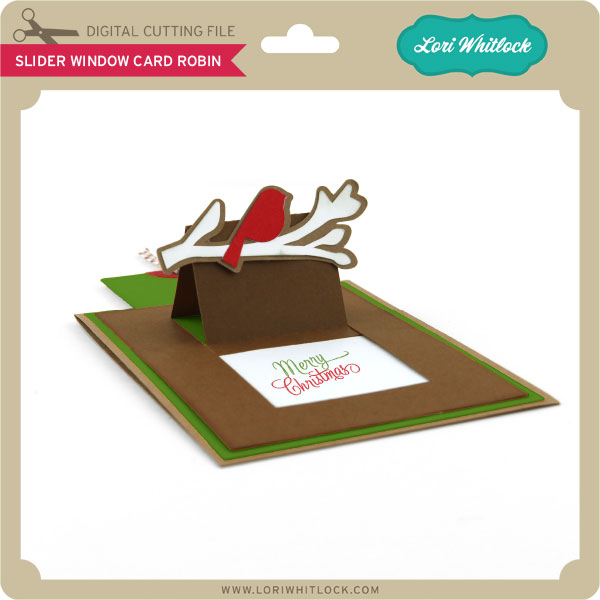
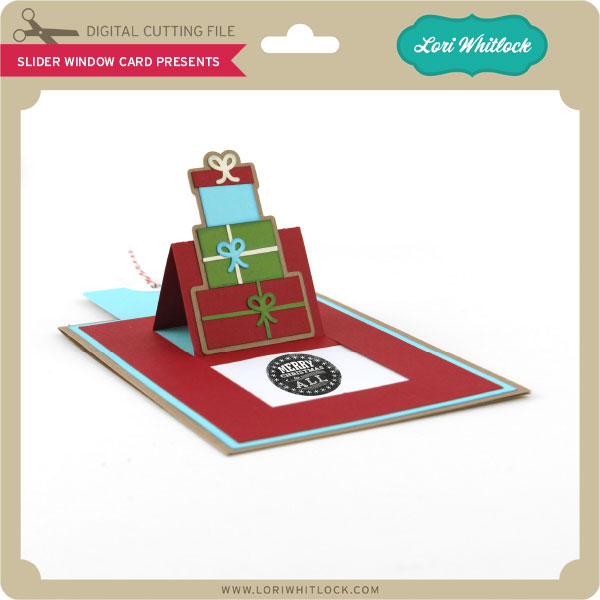
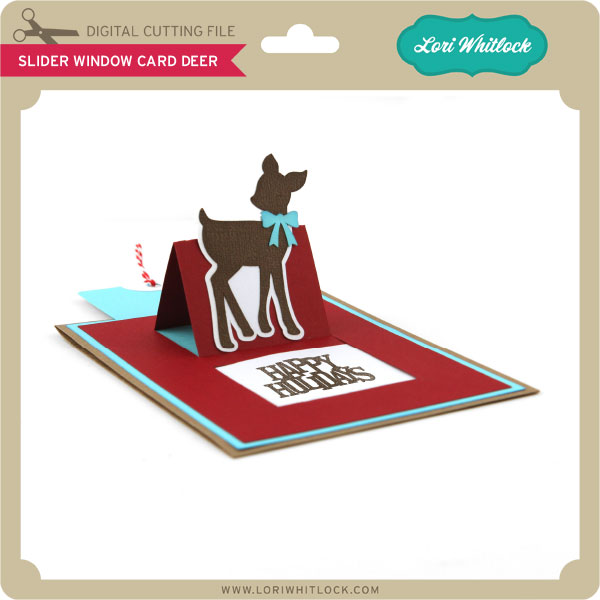
Hi everyone!  Corri here today sharing a quick assembly tutuorial for the new Slider Window cards.

I used the Story of Fall Collection from Echo Park to make the turkey version of this card.  The card has a tab that you pull to reveal your sentiment.  They are so fun!

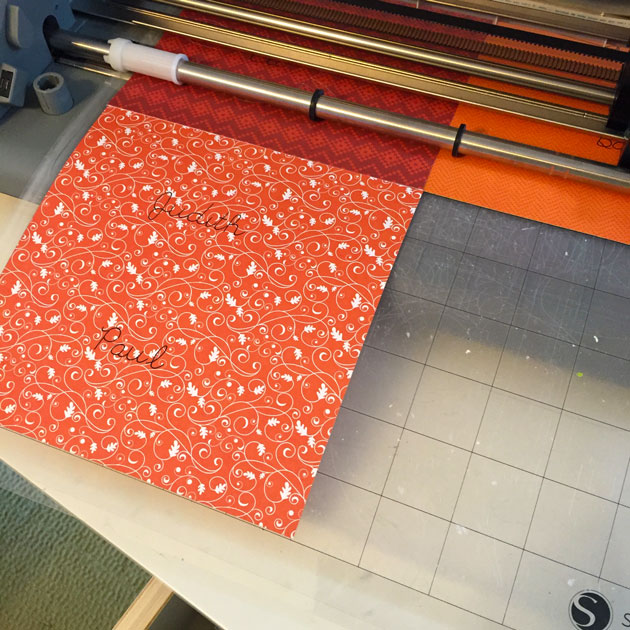
Here’s how to put them together.  When you cut out the card you will have these pieces.

The first step is assemble your turkey.  Next apply the mat (orange layer) to the card base (brown layer).

Next, apply your sentiment panel to the front of the card.  Use the window panel (wood grain) to line it up before gluing in place.

Apply adhesive to the outer edges of the window panel and glue down.  You don’t want adhesive too close to the window so your slider (floral piece) can slide freely up and down.

Finally, side the slider all the way down into the window, covering your sentiment area.  The window panel has a perforated edge on the bottom, fold that up and apply a strip of adhesive to the back side.  Press down firmly to adhere that strip only to the slider panel. When you pull up on the tab, you will have a pop up area to attach your turkey to.

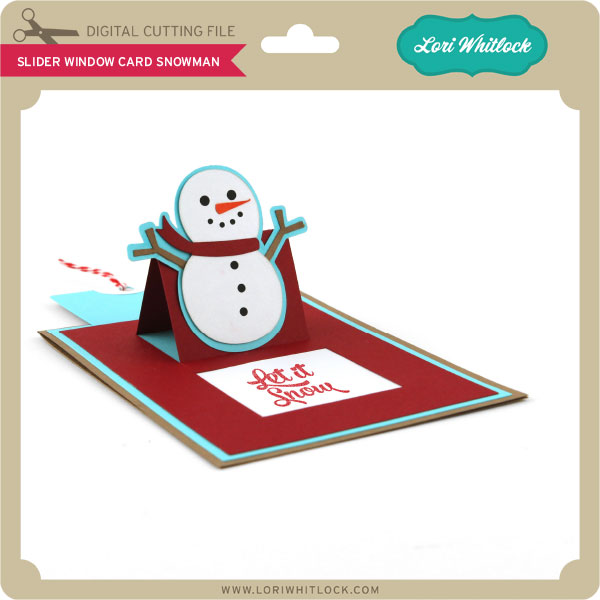
Such a fun interactive card!  Anyone would love to receive this!

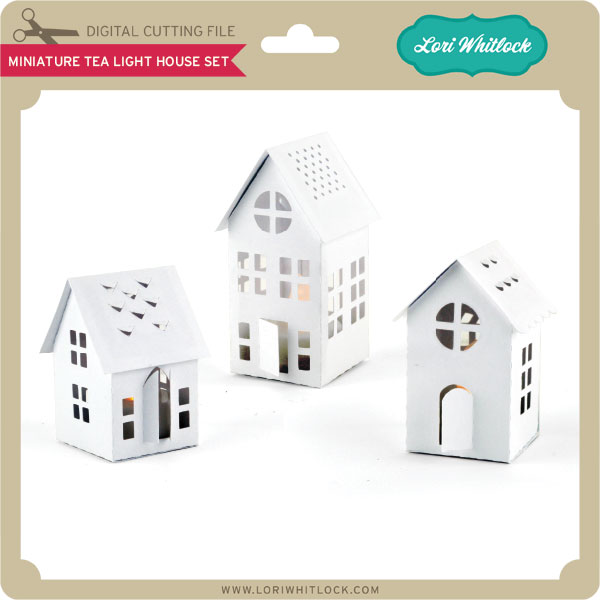
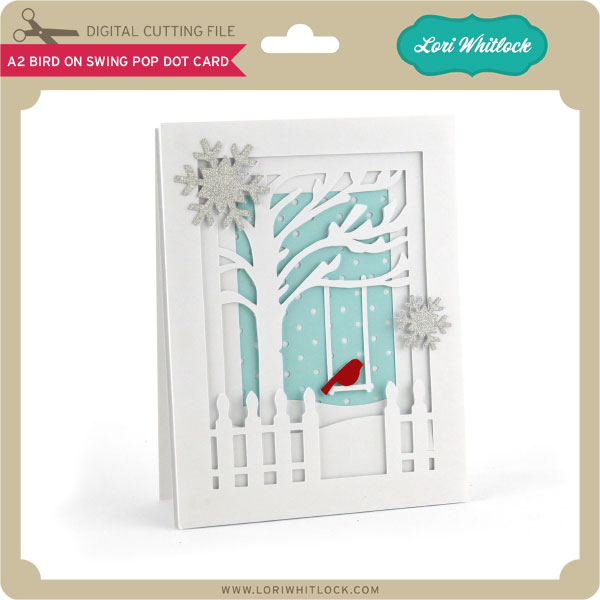
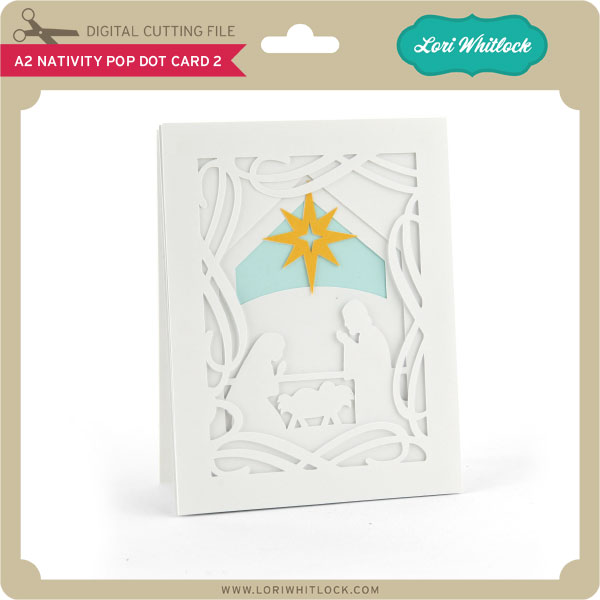
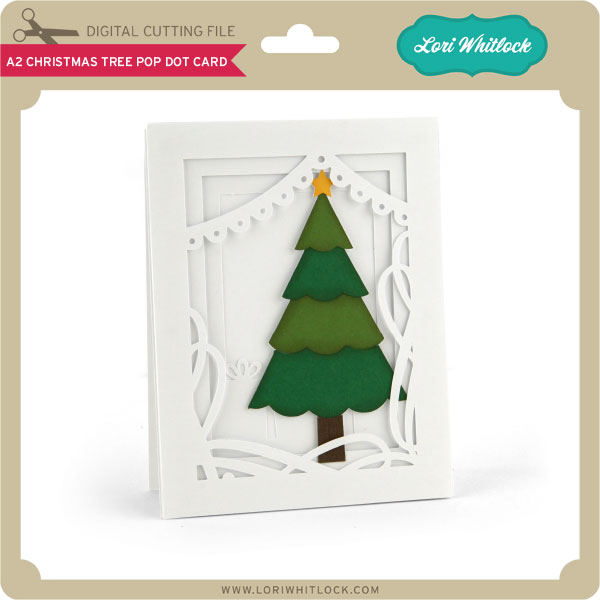
Be sure to check out all the fabulous new files that Lori recently added to the store.

Tuesday Freebie + New in Shop

TODAY & TOMORROW, this SVG file is FREE with any $1.99 purchase!

We have a FREE file with purchase today + tomorrow! Simply add this absolutely adorable Ghost Treat Box to your shopping cart along with ANY $1.99+ purchase from the SVG Shop and this file is yours FREE. Be sure to use Coupon Code: GHOSTBOX (case sensitive) at checkout. Hurry! This offer is good until Wednesday at midnight!

(Your cart must reach at least $4.98 before the coupon will be applied and then $2.99 will be subtracted from your total at checkout. The files will be available for immediate download after you pay for your order by visiting the “downloads” section inside of your account.)  

10-27-15-LW-Ghost-Treat-Box

We have a great new release of SVG files this week! And, just like always, the NEW files are ON SALE 25% OFF through the weekend in the SVG Shop! These downloads include SVG files for sure and PNG or PDF files when appropriate. Be sure to go get them while they are on SALE this week.


Thanks for visiting the blog today! Please let us know if you need any help with your files. We want to make sure everyone is happy with their purchase. Have a great week!

Friday Freebie + New in Shop

All weekend, this SVG file is FREE with any $1.99 purchase!

Earlier this week we were doing some edits to the shop. During this process we received a lot of emails from customers having trouble shopping. I just wanted to let you all know that the shop is back online and we have a FREE file with purchase for you this weekend! Simply add this absolutely adorable Halloween Spider Pop Up Card to your shopping cart along with ANY $1.99+ purchase from the SVG Shop and this file is yours FREE. Be sure to use Coupon Code: SPIDERPOP (case sensitive) at checkout. Hurry! This offer is good until Sunday at midnight!

(Your cart must reach at least $3.98 before the coupon will be applied and then $1.99 will be subtracted from your total at checkout. The files will be available for immediate download after you pay for your order by visiting the “downloads” section inside of your account.)  

10-20-15-LW-Halloween-Spider-Pop-Up-Card

We have a great new release of SVG files this week! And, just like always, the NEW files are ON SALE 25% OFF through the weekend in the SVG Shop! These downloads include SVG files for sure and PNG or PDF files when appropriate. Be sure to go get them while they are on SALE this week.

In addition to the great release of Silhouette and SVG files, we have an awesome new Halloween Digital Scrapbooking collection that released today over at Snap Click Supply. And, it’s 25% OFF all weekend, too. So be sure to pick up this Classic Halloween Collection at a discount while you can.


Look at these adorable layouts the creative team has put together using the new Classic Halloween Collection…

Thanks for visiting the blog today! Please let us know if you need any help with your files. We want to make sure everyone is happy with their purchase. Have a great week!

Using the Cut by Color Feature with Kathy

Hi everyone!  It’s Kathy today with a tutorial on how to use the Cut by Color Feature in the Silhouette Studio.  If you’re not familiar, this feature allows you to select different cutting conditions for each line color on your design mat.  This is super handy when working with the Silhouette Sketch Pens and shapes.  I used this feature to create the leaves on these fun Thanksgiving Place cards.

Papers Used: The Story of Fall from Echo Park

I started by loading the leaf place card from Lori’s Thanksgiving Place Cards set (here in the Silhouette Store).  I moved the leaf part of the design onto my mat.

Next, I loaded my sketch font and typed the names I wanted in my cards.  I changed the color of the lines that made up my names by opening up the Line Color Window and clicking on a different color (the color does not matter as long as it is different from the color marking the leaf shape)

This is what my mat looked like when I was done adding all of the names.

Once I was happy with my design, I clicked on the Cut Settings button, then the Adjust Cut Settings button on the bottom.  First thing I did was change the Cut Mode from Standard to Advanced (1).  Next I clicked on Line Color under Cut Order (2).  This brought up a grid with the two line colors in my design.  I started with the first color, in my case black or the color of my names.  I clicked on this (3), set the Material type to Silhouette Sketch Pen (4).  I then right clicked on the highlighted line color and chose add pause.  This is very important.  It stops the Cameo after it has written out the names using the sketch pen so that you can swap back to the cutting blade before it proceeds to cut the leaf shape.

Next, I clicked on the Red line color (1).  Since the Red line is my outside cut line, and I don’t want to cut the name, I clicked on the center square button (2) until it showed just the outline.  This tells the Cameo to only cut the outline, not anything inside.  Finally I set my Material type to Patterned Paper(3).

Once these steps were done, I loaded my black Silhouette Sketch Pen in the housing, inserted my mat and chose Send To Silhouette.  First the Cameo wrote all of the names.  It then paused.  I swapped the Sketch Pen for the cutting blade, then hit Resume cutting.  The Cameo went on to cut the leaf shapes around the names.

Here’s a close-up of one of my Place Cards…

I love using my sketch pens and this makes it so much easier to use them with fun shapes!  I hope you find this helpful!  That’s it for me today, thanks for stopping by to peek!

Faux Chipboard Letters with Tya

Hi there everyone – its Tya and I am here up on the blog today to share a neat technique with you. So I have a confession to make- I am a FONT JUNKIE! I love fonts and have oodles on my computer and I am always looking for fun and creative ways to spruce up my fonts. Lori has some of my favorite fonts and comes out with new ones all the time. So if you are a font junkie like me – this tutorial is for you!

So I wanted to share with you a great way to turn your favorite fonts in to faux chipboard letters. I love chipboard letters too – so this way, with the help of my Silhouette, I can turn my favorite fonts into chipboard looking letters! Let me show you how I did it!

First off, select a font. I am using  the  adorable LW Cirque Font for my project.  It can be found here on the Silhouette Store and here on the LW Shop. You can decide on the thickness of the letters you want. I wanted mine pretty thick so I cut out 9 letters.

 After all the letters are cut out , simply glue all the letters together in a stack. Here you can see the difference and see the dimension when all the letters are glued together. The stack in the picture isn’t glued together yet, just wanted to show you the thickness-Didn’t want you all to think I glued them all so crooked! 🙂

To add a little fun to the letters to make them look a little more realistic – I brushed a thin coat of Glossy Accents on to the top letter. The fun thing about this technique is you can also make the letters any size you’d like, something that you can’t do with premade chipboard letters. My letters are about 2 inches wide and 3 inches tall.


I made this really fun and simple Halloween frame to add to my home holiday decor. I got the frame from the dollar store and along with the letters,  just added some banner cut outs and some stickers and embellishments to dress is up. So it’s an inexpensive project too!

I hope that I have inspired you to make some of these fun “chipboard” letters with your favorite fonts too! It’s a great way to add dimension to your projects. Thanks for stopping by!

Files I used: